Zorana’s Queso Llanero (Venezuelan Hard Cheese)
Posted by admin on

Zorana Marquez
Zorana lives in Humble, Texas. We interviewed her a few weeks ago (click here) and in the interview she mentioned a type of Venezuelan cheese she makes. Several readers asked if she would be willing to share her recipe.
Zorana is one of the busiest people we know, but she immediately made the cheese, wrote out the directions, and took pictures of the entire process. We think she’s The Best in the West!
Zorana’s Queso Llanero
Description:
Originally, this cheese was made in the Llanos of Venezuela, also known as the low-lying plains of the Orinoco Basin, which occupies 1/3rd of Venezuela. Annual temperatures can range from 65F to 96F.
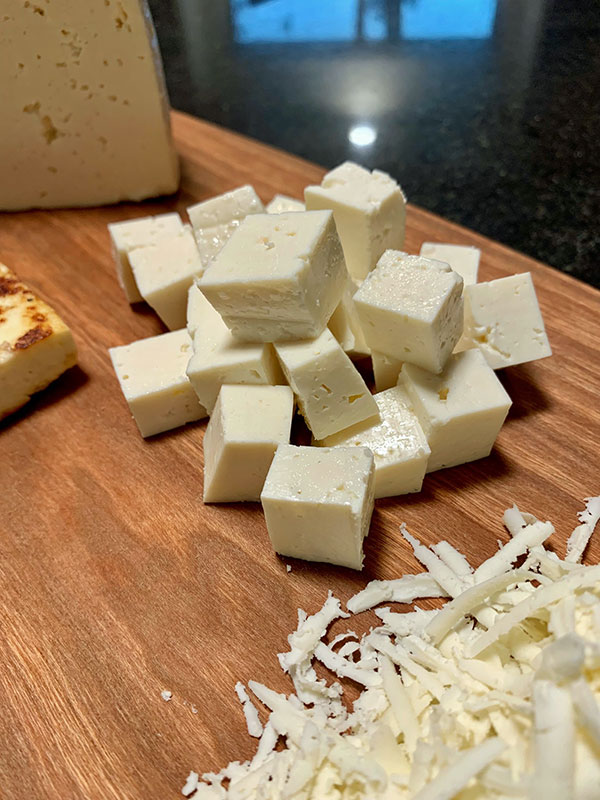
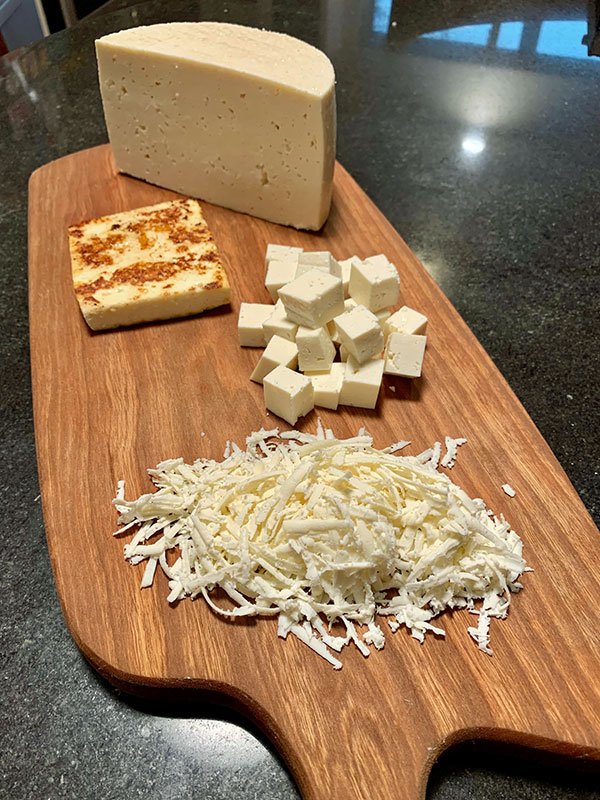
This is a semi-hard to hard cheese – high in salt content and slightly acidic, typically made from cow’s milk (Criollo Limonero, Carora, Pardo, Holstein and Jersey). It is a cheese that can be grated, cut in cubes, pan fried, or grilled. It can be used over pastas and salads. But ultimately, it is best when eaten with Arepas or Cachapas.
This recipe has been adjusted from the original. Normally, it is made with non-pasteurized milk and the whole process from warming the milk to maturation is done while temperatures range from 80F to 95F. These practices are not acceptable under the regulations of the USDA and FDA. Therefore, we must make this cheese with pasteurized store-bought milk so we can create a safe way to eat it.
Ingredients:
2 gallons of whole milk (not ultra-pasteurized)
16 oz of whole milk to make day-old whey (7 oz (200 ml) day-old whey)
single strength liquid rennet. Follow your supplier’s instructions
salt for brine: 2.1 lbs
whey for brine: 5 qts
calcium chloride (for pasteurized milk). Follow your supplier’s instructions
Equipment:
thermometer
measuring spoons and cups
knife to cut curds
ladle or large spoon
small sieve
larger colander
cheese mold
large container for salt brine
cheese press and 10 lbs weight
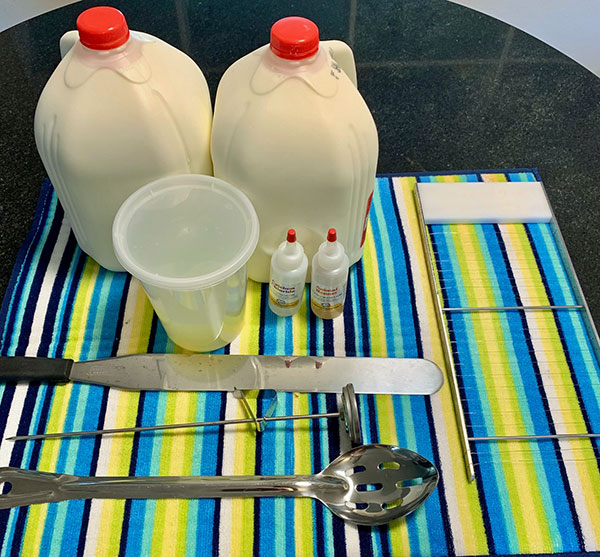
Milk, whey, rennet, calcium chloride, curd knife, thermometer, ladle, cheese cutter (harp)
Step 1: Preparing day old whey
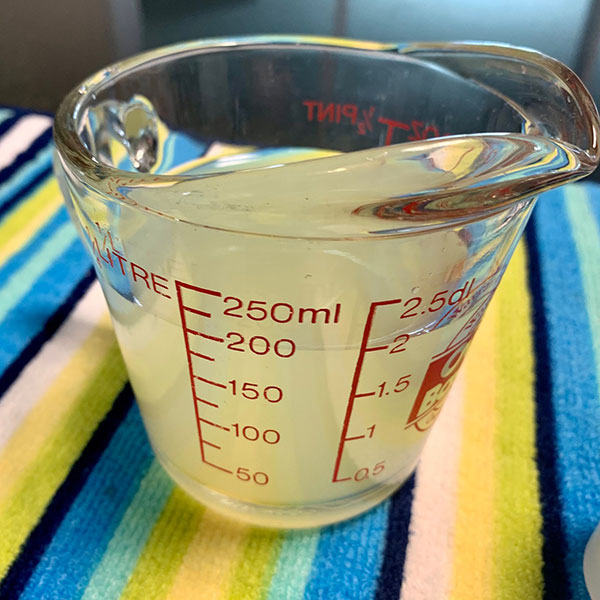
1 or 2 days prior to making your cheese, make your day-old whey. Using 16 oz of whole milk, warm up the milk to 90F (32C), add calcium chloride and rennet, cut the curd, stir and save the whey. You need approximately 7 oz (200 ml). Store this whey on your kitchen counter for 24 hours (or up to 48 hrs).
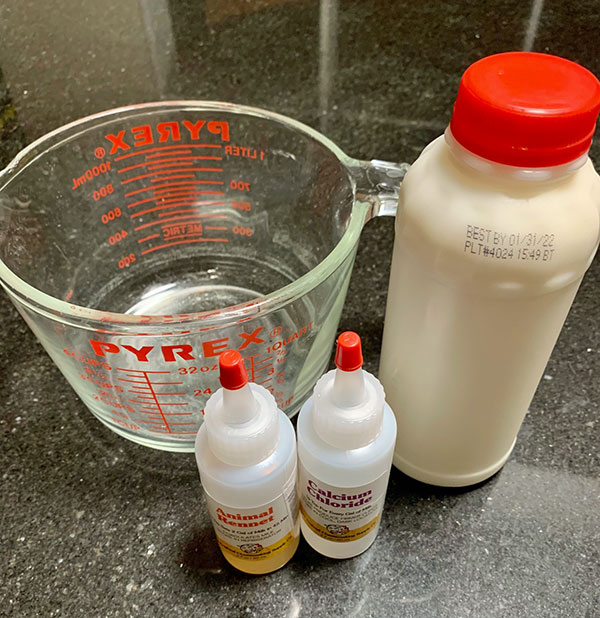
Milk, rennet and calcium chloride

Cut into 1″ cubes.
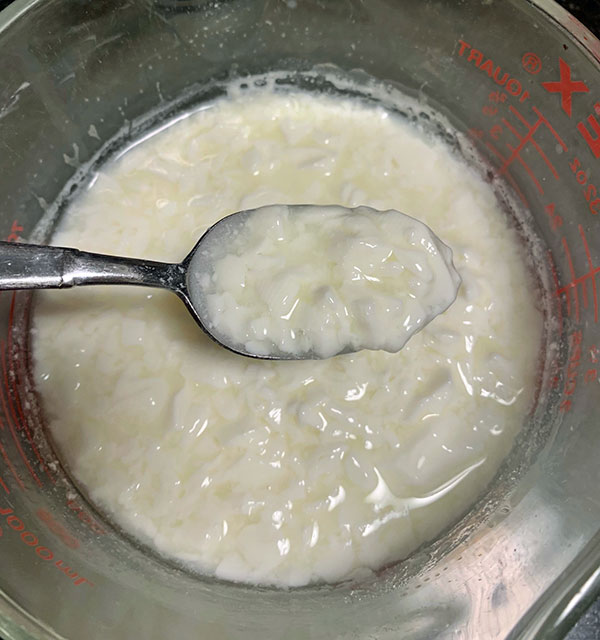
Stir the curds.
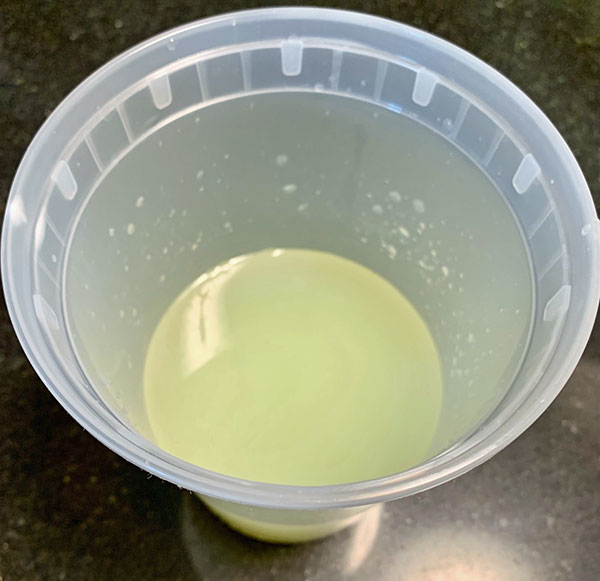
At least 7 oz of whey
Step 2: Heating and acidifying the milk
In a double boiler, begin to heat 2 gallons of milk slowly to 95F (35C). Add the calcium chloride if using pasteurized milk and stir well for 1 minute.
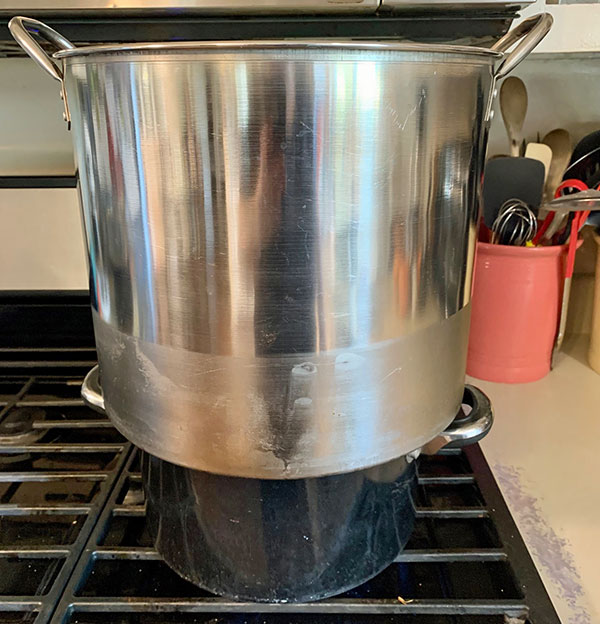
Make a double boiler from 2 pots.
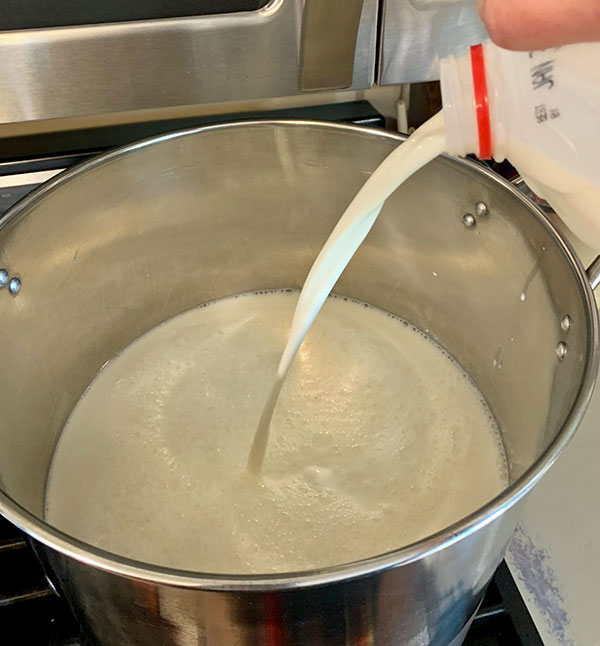
Pour in the milk.
Add 7 oz of day-old whey and stir well.
Whey
Once you have reached your target temperature of 95F (35C), allow the milk to acidify for 45 mins.
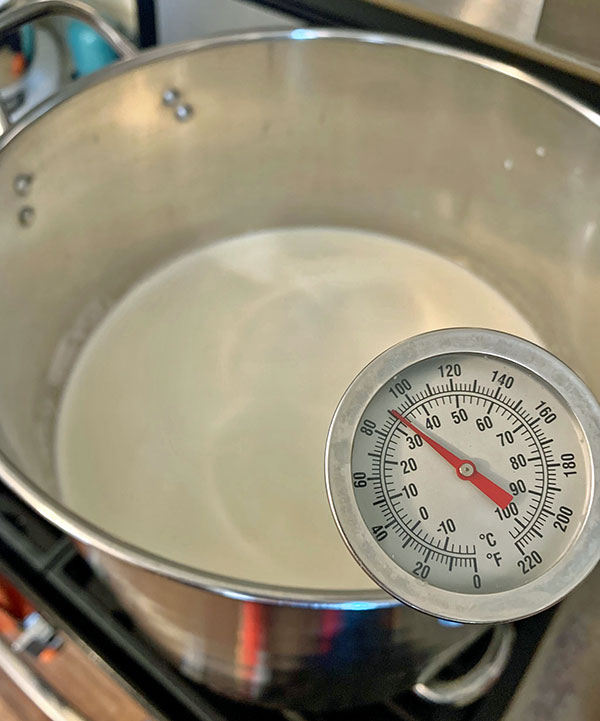
Hold at temp.
Step 3: Coagulating with rennet
In ¼ cup of spring water, dilute the single strength liquid rennet. Add to milk and stir gently for 1 minute.
Allow the milk to sit still for 45 minutes to develop the curd. The milk should still be kept as close as possible to 95F (35C).
After 40 minutes, confirm that you have a clean break. If needed, wait an additional 10 minutes.
Step 4: Cutting curds to release the whey
Cut the curds vertically into 1″x 1″ squares. Wait for 5 minutes.
Then, cut the curds horizontally to the same size (or as close as possible). Wait for 5 minutes.
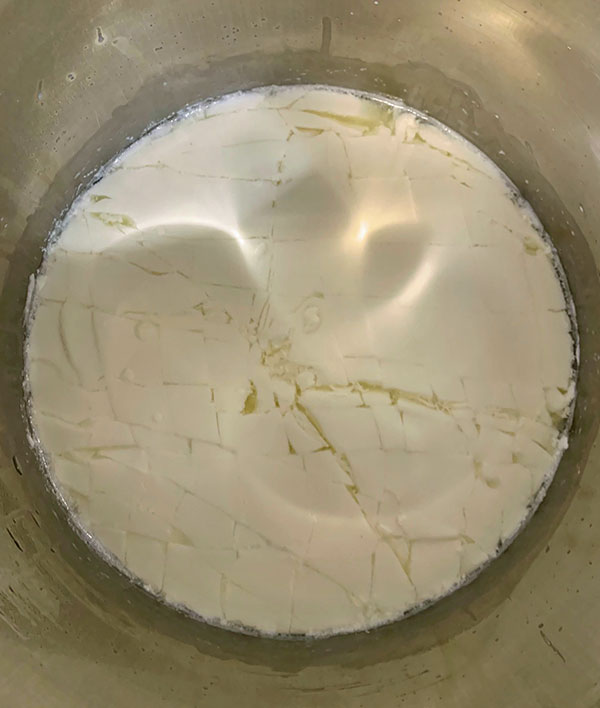
Cut the curds.
Then, carefully start stirring the curds.
Stir.
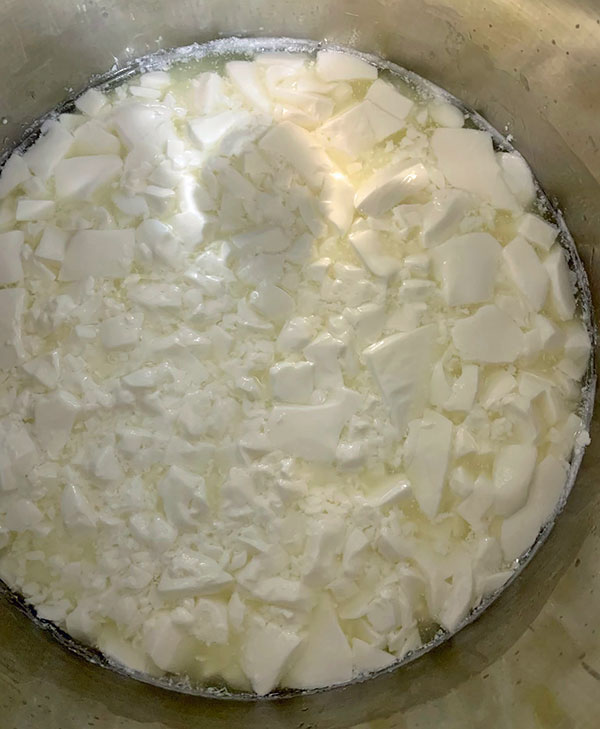
Step 5: Cooking the curds
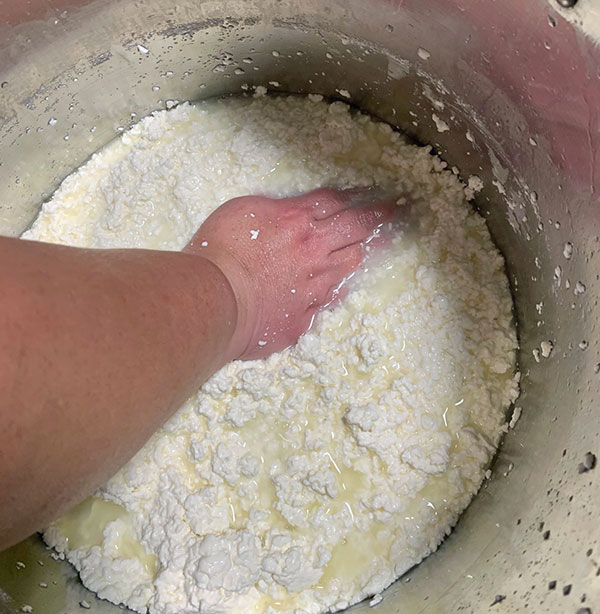
Keep the curds at 95F (35C) for the next 90 minutes. Slowly and carefully stir the curds every 10 minutes. The final curd should be small and strong enough to pinch it with your fingers.
Step 6: Removing and saving the whey
Allow 5 minutes to let the curd settle down.
Slowly start removing the whey by placing a colander inside the pot and scoop out as much whey as you can. Save your whey because you will need it when it is time to salt the cheese.
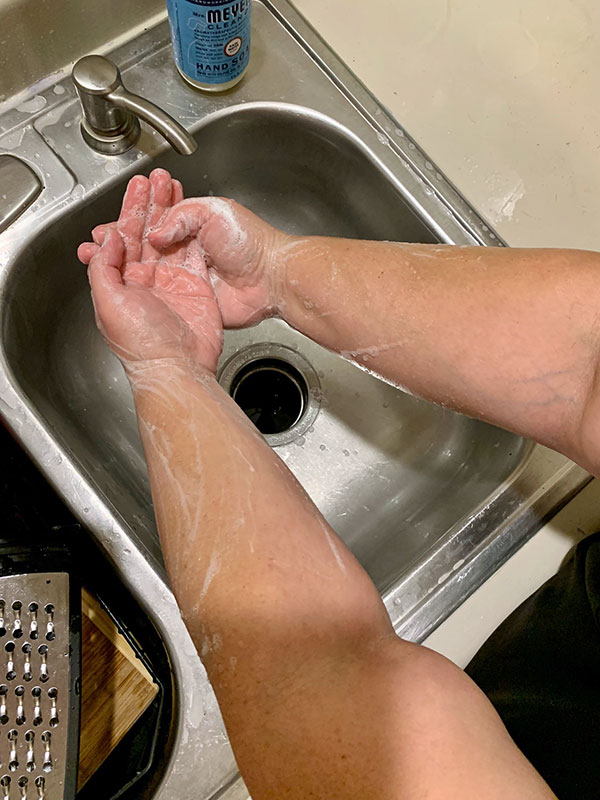
Your hands will be in the whey so wash them carefully.

Start scooping out some of the whey.
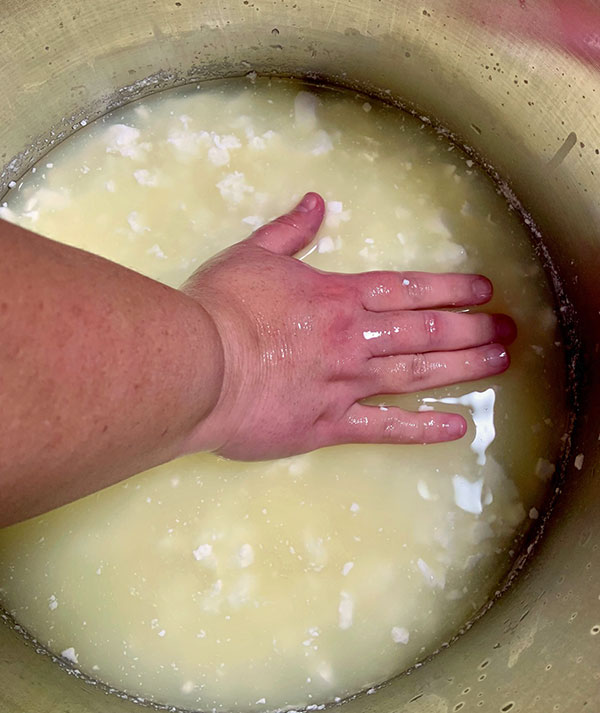
Slowly start pressing the curd mass down.
Press all the way down until the curd is giving some resistance.

While pressing the curd mass down, use a colander or sieve to separate the curds from the whey.
Then, the fun part begins. Remove all jewelry and your watch from your hands. Then wash both hands and arms with water and soap. Spray your arms and hands thoroughly with a water/vinegar mixture. Dry your hands and arms well and start the smashing of the curd process.
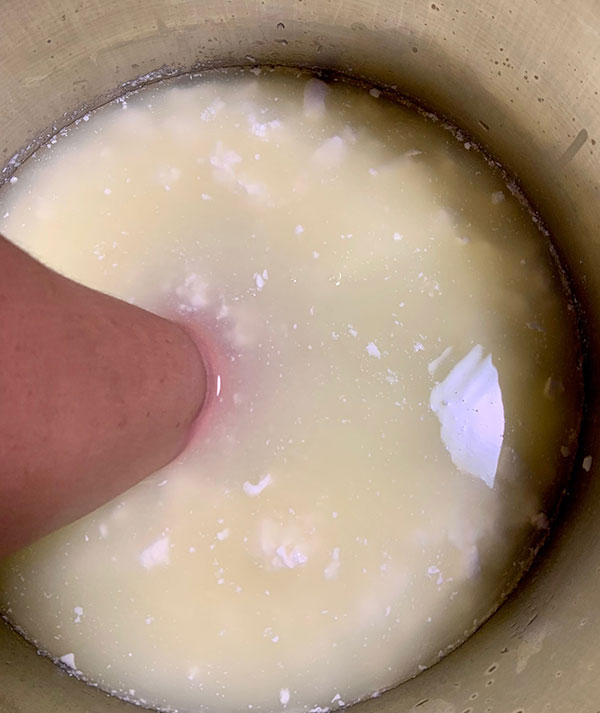
Slowly, with your hand, press the curd mass down. When you feel the curd is giving you some resistance, start from the top again. This process takes a while – be patient. Then, remove more whey as noted before. Continue pressing the curd. This process will go on for some time until you end up with a solid curd mass at the bottom of your pot.
Press the whey from the curds.
Once you see that there is little whey at the bottom of the pot, you can then transfer the curd mass into a colander to drain by itself for another 60 minutes.
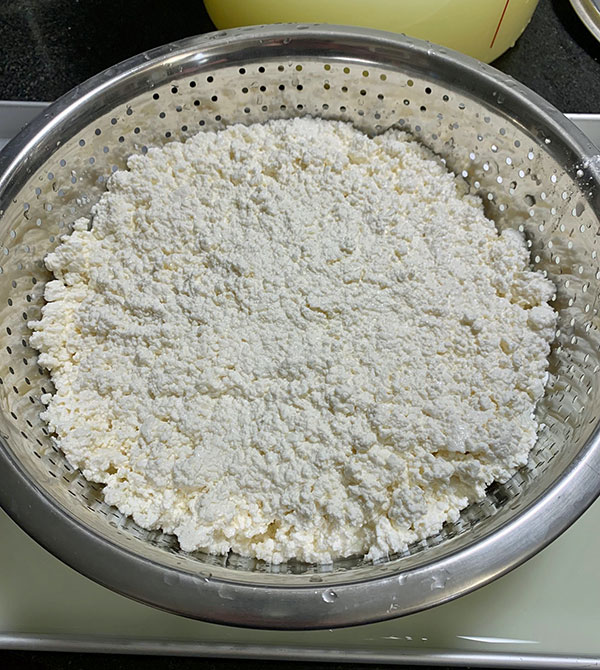
Drain the curds.
Step 7: Salting
Make a 20% salt whey brine. Add 5 qts of the whey and mix 2.1 lbs of non-iodized salt. Stir well until the salt is fully incorporated.

You can use kosher salt or cheese salt.
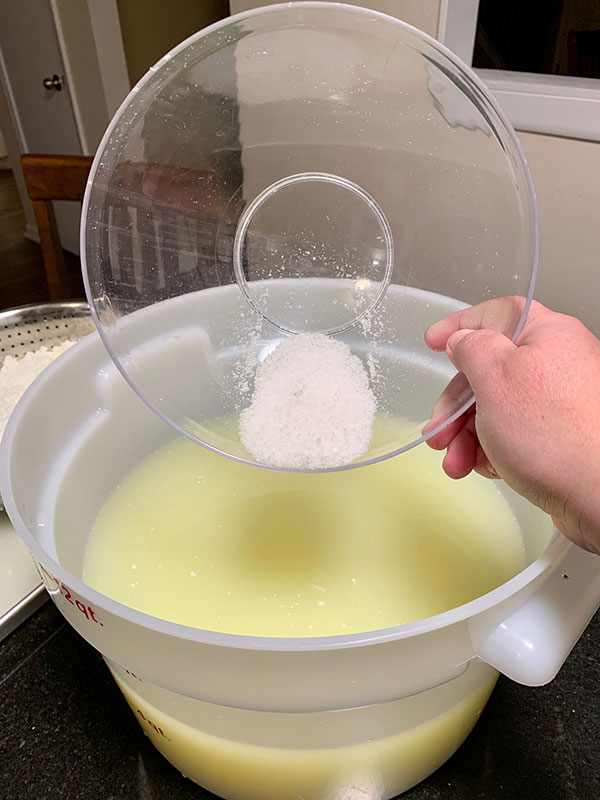
Add the salt to the brine.
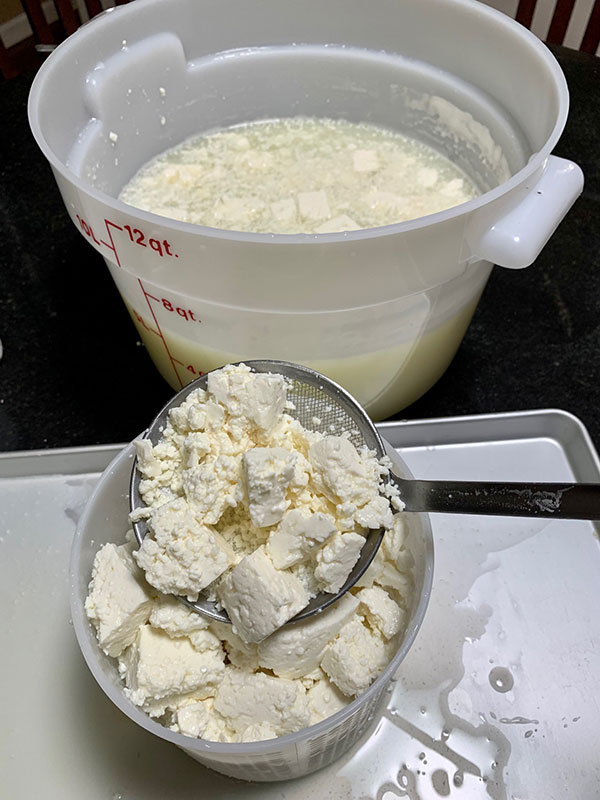
Take the curd mass and cut it into 1″ x 1″ cubes.

Cubes of curd
Add the cubes to the brine and stir.
Then, place a large plate on top of it to hold down the curds. Let the curds brine for 12-15 minutes. This is a salty cheese, but here you can determine how salty you really want it.
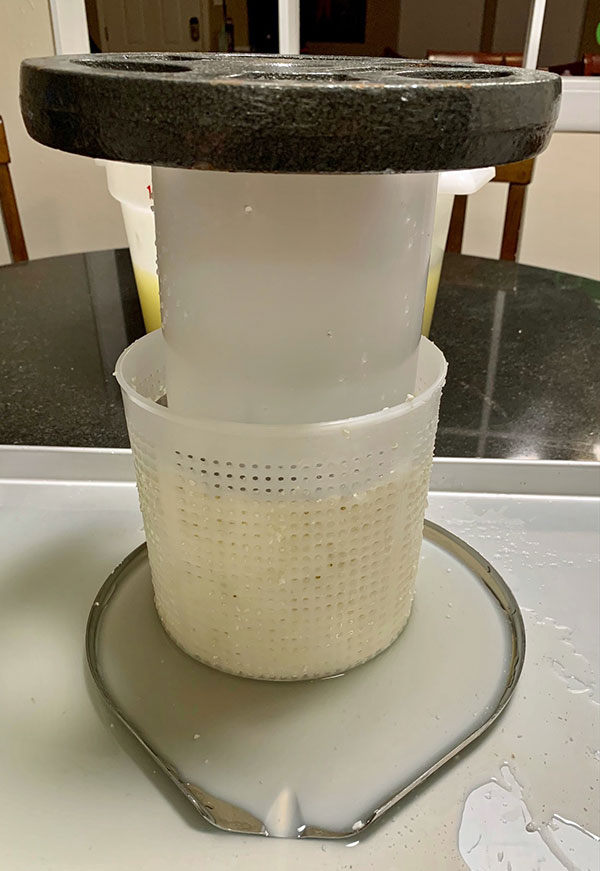
Step 8: Forming and pressing
Remove your brined curds and transfer directly into the cheese mold. You will not need cheesecloth for this cheese.
Remove the curds from the brine.
Press your cheese at 10 lbs for the first hour.
Then, take out your cheese and carefully flip and press at 10 lbs for 24 hrs.
Press the curds. (I got the mold at restaurant supply store about 3 years ago.)
Step 9: Aging
Remove the cheese from the mold and cut the edges if necessary.
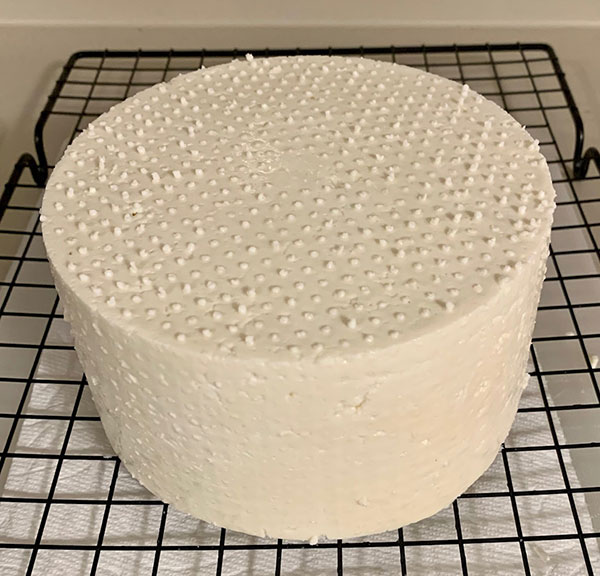
This is the cheese after pressing.
Coat your cheese with some vegetable oil and add salt to the exterior of the cheese. You wanted this after the oil pic but I always put the action before the picture (see above).

On your kitchen counter, place cheese on a drying rack and allow the cheese to continue drying for 2 days at room temperature.
Flip every 6 hours.

Then, this cheese is ready to be eaten.
This is considered a fresh cheese and it should be eaten within a week. Once dried, you can place it in your fridge inside a ziplock bag for storage or you can vacuum seal it.