Matcha Cake Recipe
Posted by admin on
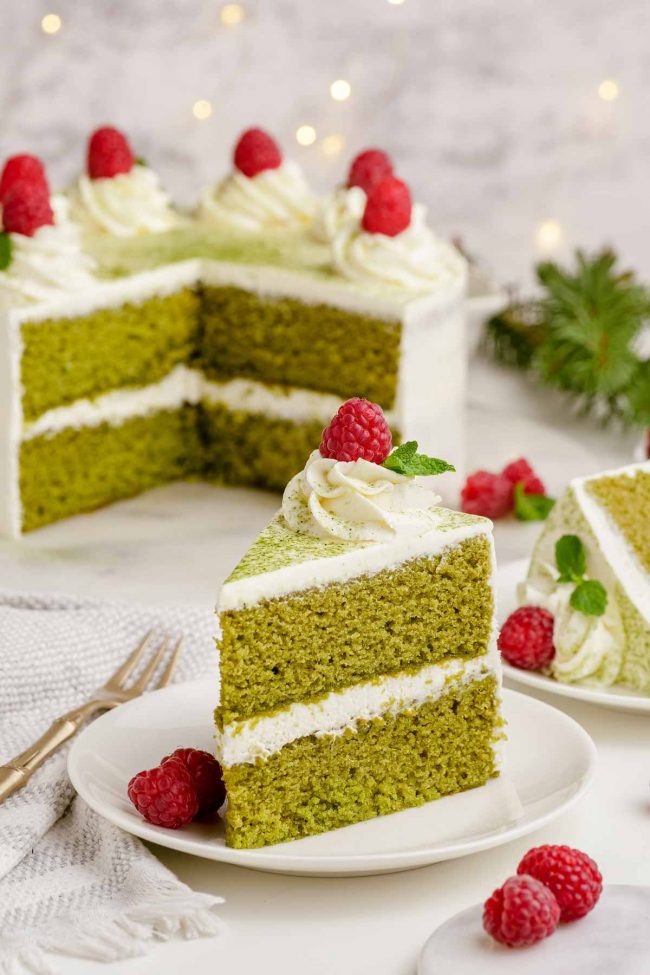
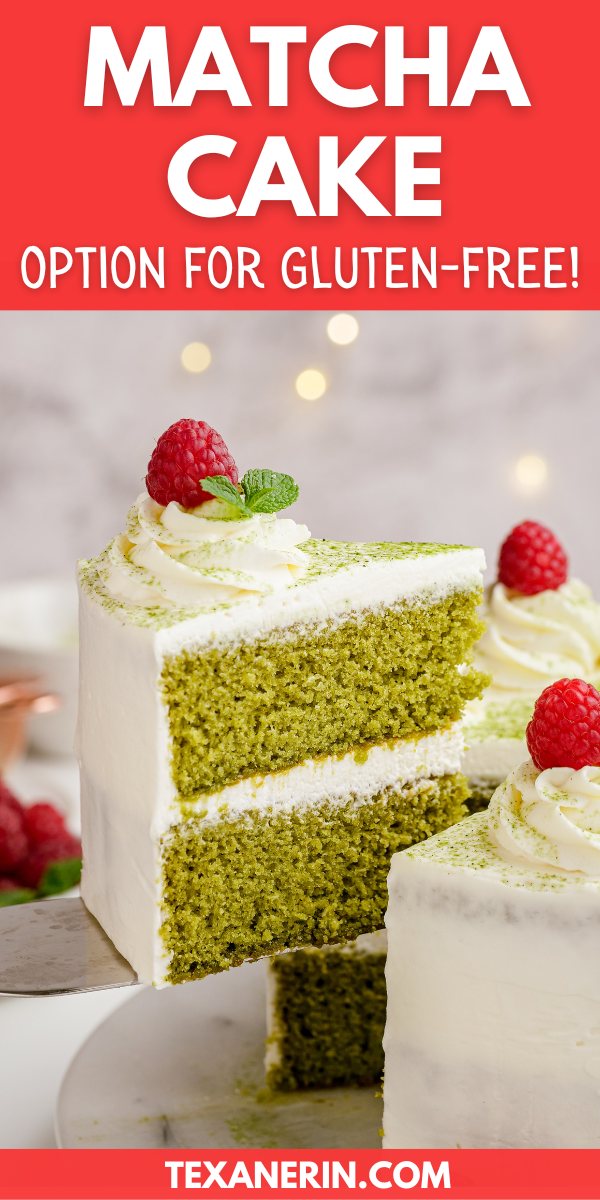
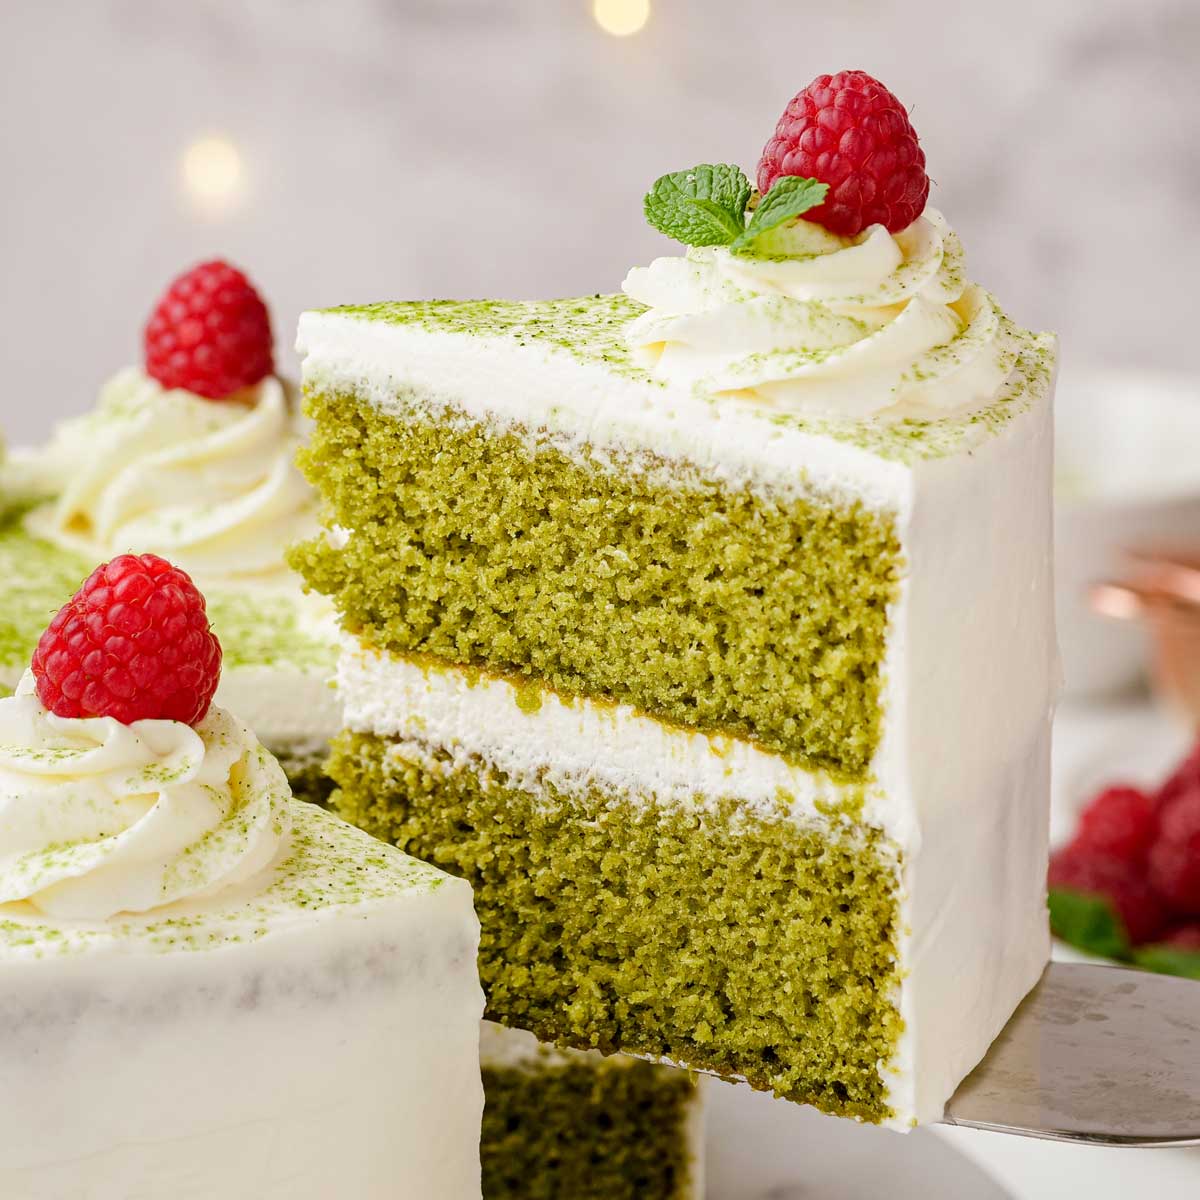
This matcha cake with whipped cream cheese frosting has a wonderfully soft, fluffy texture and lots of matcha flavor. It’s a naturally green dessert for Christmas or St. Patrick’s Day and can be made with all-purpose or gluten-free flour.
I adapted this matcha cake recipe from King Arthur Flour.
I first used it in this Christmas Tree Cake recipe that I posted recently. That one is orange-flavored and my new go-to cake!
For today’s recipe, I removed all the orange flavor, added 2 tablespoons of matcha and reduced the flour by 2 tablespoons. I had read that matcha absorbs more water and less fat, so I also reduced the oil by 4 teaspoons.
One time, I added more water, but it was unnecessary.
I also reduced the sugar a bit. It’s still plenty sweet, so nobody will miss it.
Instead of my usual Healthier Cream Cheese Frosting recipe, I used whipped cream cheese frosting. It’s so light but still has that cream cheese frosting taste. It fits this cake perfectly!
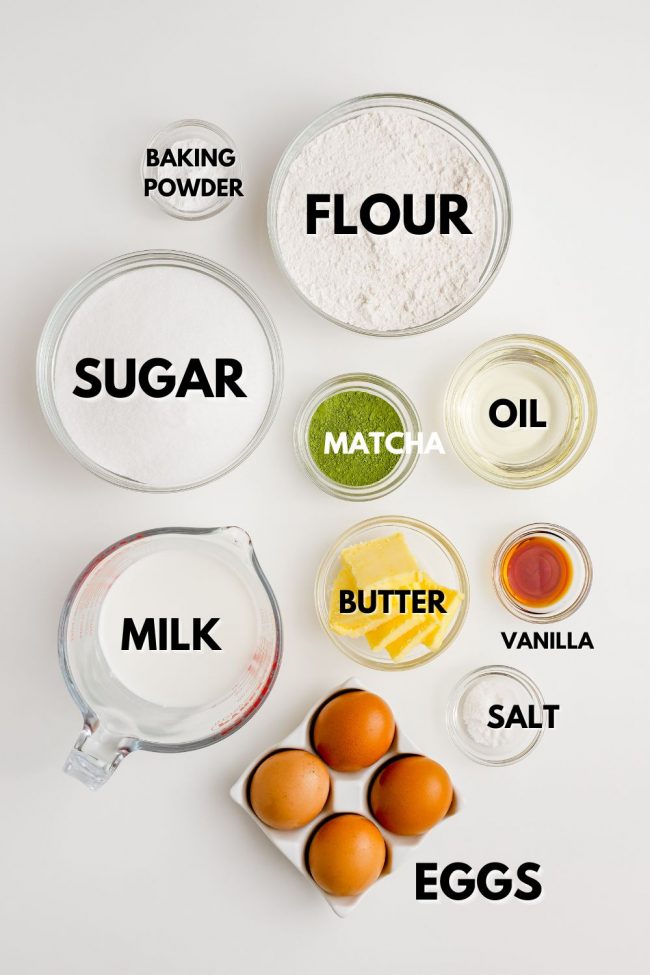
Ingredients
- Flour – if you’re not gluten-free, you can use all-purpose flour or white whole wheat flour (not regular whole wheat flour!). Otherwise, use King Arthur Flour Gluten-free Measure for Measure Flour.
- Matcha – I used ceremonial grade matcha. Loads more on this below!
- Baking powder + salt – you have to use baking powder and not baking soda. They’re not interchangeable.
- Eggs – since this recipe calls for 4 eggs, it’s too many to sub with an egg replacer. You also have to beat the eggs with the sugar, which makes for an airier cake, and that’s not something you can do with egg replacers.
- Granulated sugar – I love using coconut sugar, but I think the flavor would clash with the matcha and make an incredibly ugly color.
- Vanilla extract
- Milk – you can use whatever type you’d like. If you want to use canned coconut milk, then definitely water it down until it’s as thin as regular milk. There’ll probably be some coconut flavor in your cake. I use unsweetened cashew milk, and it worked great.
- Oil – you need an oil that’s liquid at room temperature, like vegetable oil or canola. I usually avoid those oils, but can’t imagine olive oil would be very tasty with matcha.
- Butter – should you want to make this cake base dairy-free (the frosting is not dairy-free), then you can use more oil instead of butter. So you’d use 1/2 cup + 1 tablespoon of oil instead of the amount of butter and oil that is called for.
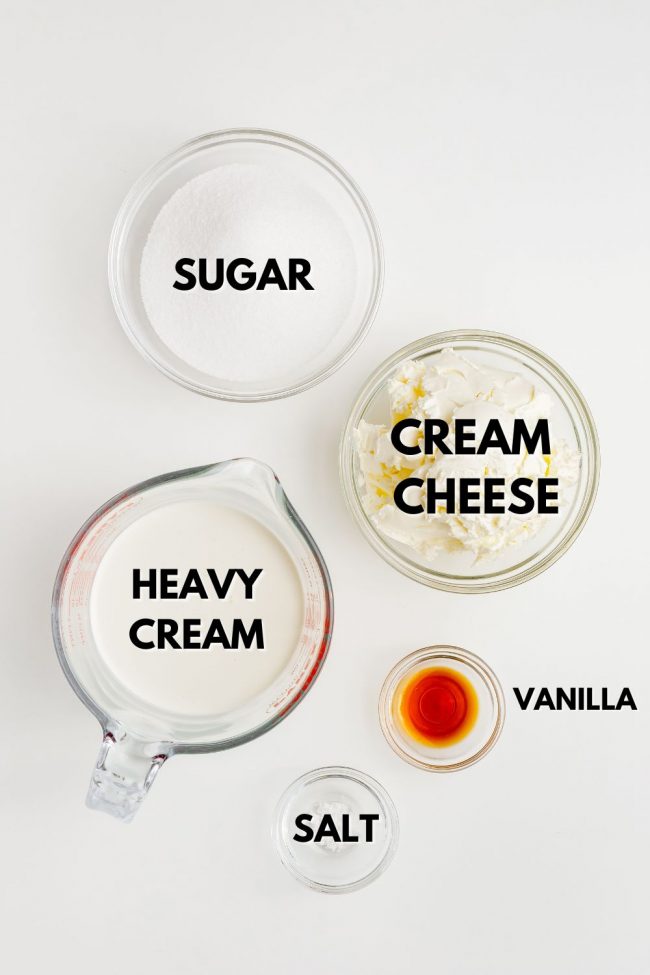
For the frosting:
- Granulated sugar
- Cream cheese
- Heavy cream
- Vanilla + salt
How to make it
To make this matcha cake, it takes a few minutes more than making a one-bowl cake recipe. But it’s really worth the extra effort!
First, mix together the dry ingredients. In another bowl, you beat the eggs, sugar, and vanilla extract until it’s thickened and is light gold in color – about 2 minutes.
I tried to skip this step once because I like to dump everything in a bowl, stir with a big spoon, and be done with it.
The cake was definitely not as airy. So you’ll really want to follow the instructions!
Fold the dry ingredients into the wet.
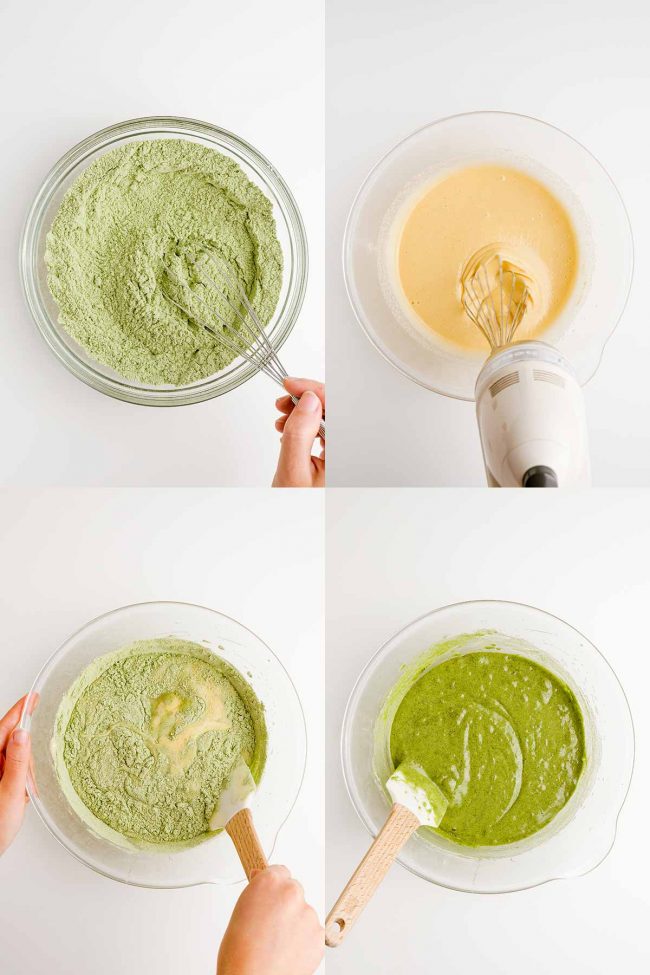
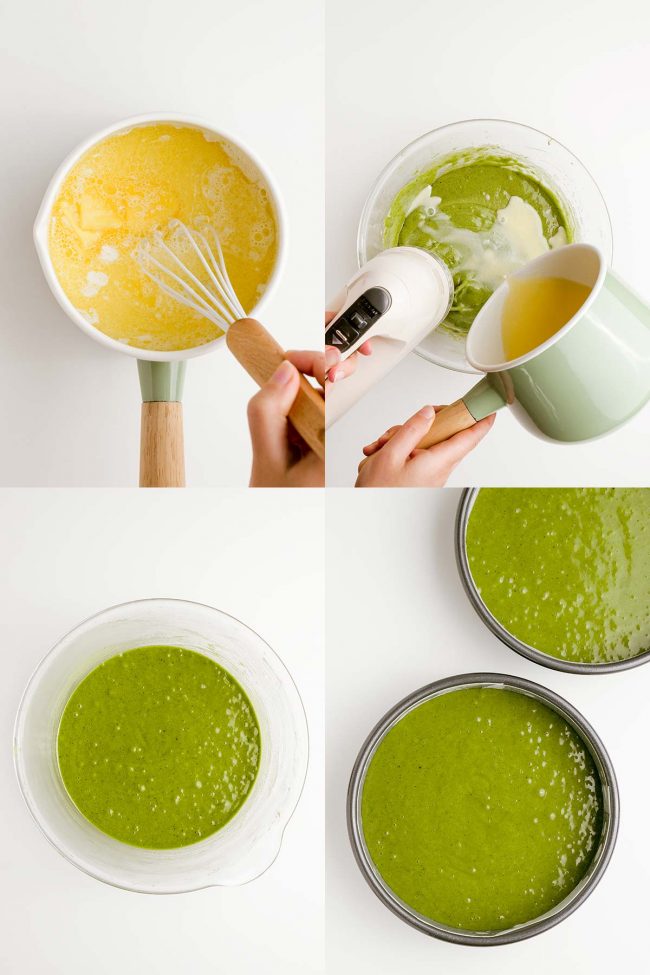
Heat the milk just until it’s about to simmer. Remove the pan from the heat and add the butter and oil.
Scalding the milk and beating the sugar and eggs together is annoying, I know, but worth the extra 3 minutes of effort.
Scalding milk kills the whey protein that weakens gluten and that prevents yeast dough and cakes from rising properly.
So I thought – if I’m making a gluten-free cake and using cashew milk in the batter, then there’s no gluten and whey protein. Then perhaps I could skip this step?!
I skipped that step, and the cake was definitely not as airy. There was a big difference. I’m not sure why, though.
Now pour the batter into the prepared pan. It might have lots of little bubbles.
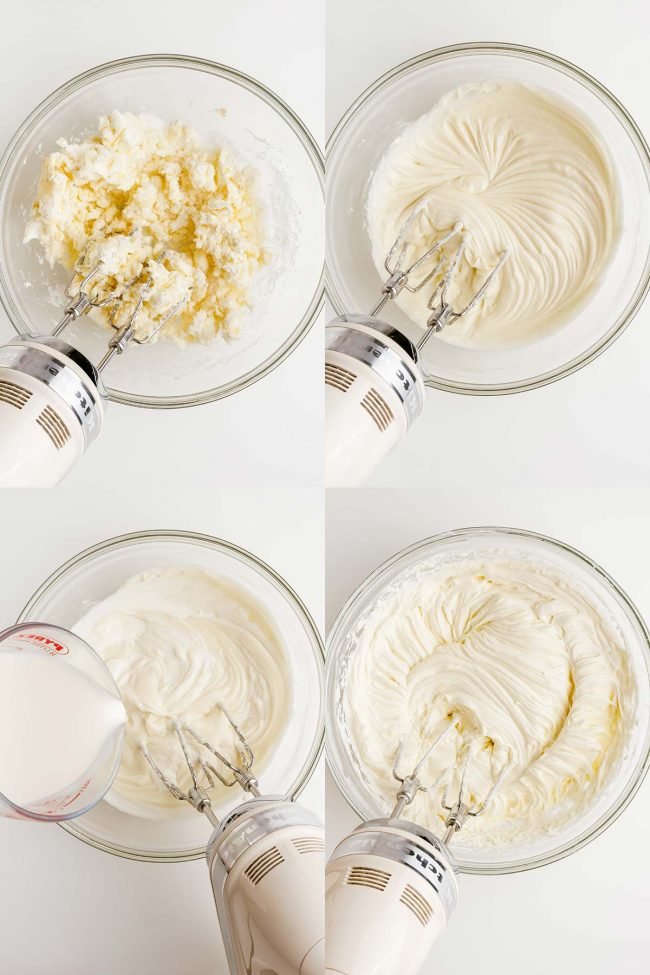
While the cake is baking, prepare the whipped cream cheese frosting.
It’s super simple. You just beat everything together but the heavy cream in a bowl, and then you beat in the heavy cream. Done!
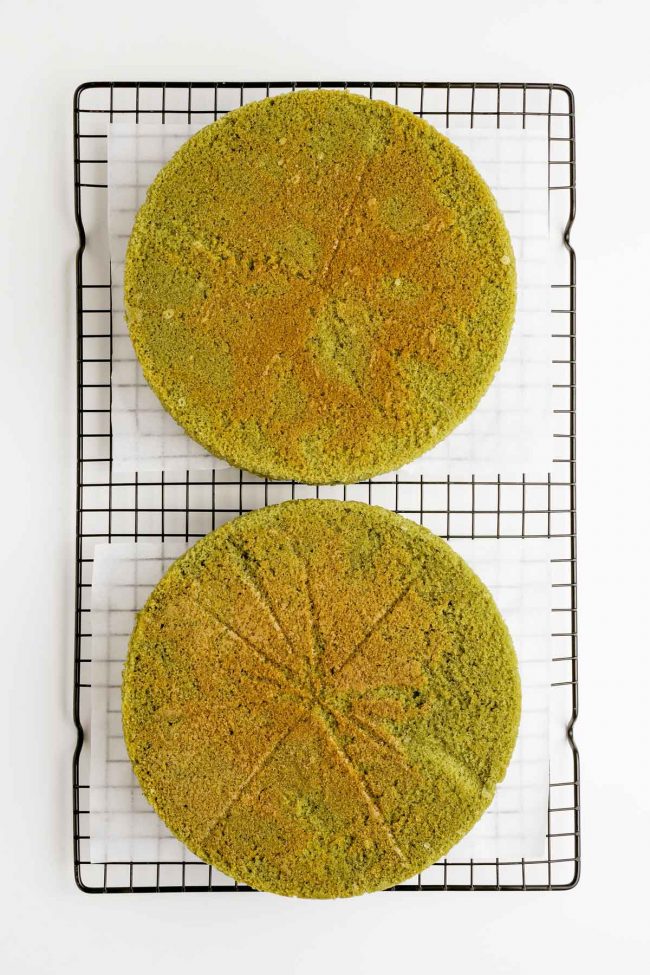
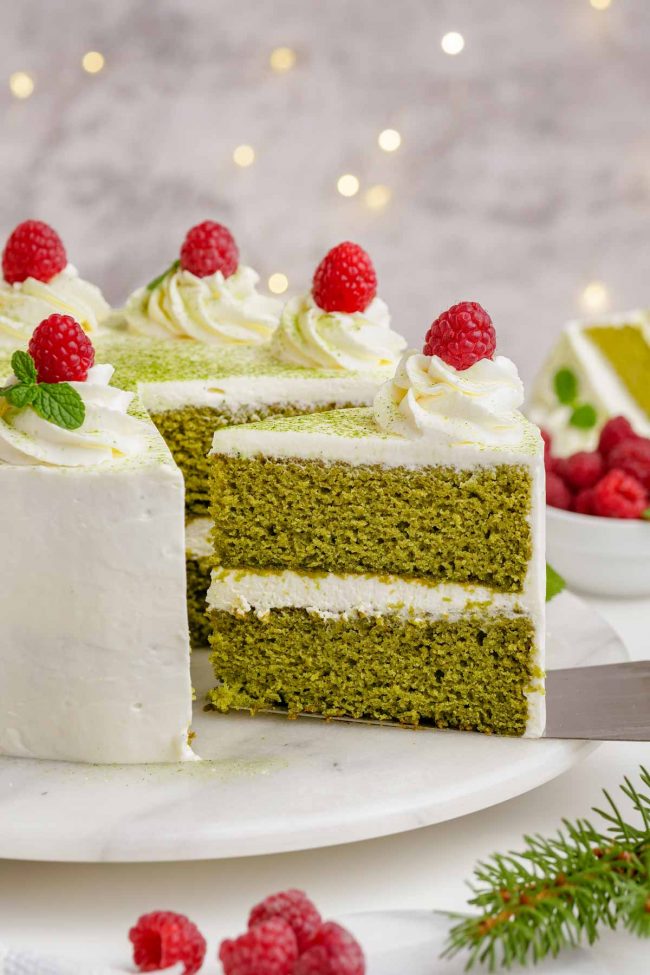
This is what the cake looks like once baked. It’s not that great looking, but you’ll be covering it all up with frosting. So don’t worry!
By the way, the lines on the cake are from the parchment paper that was on the bottom of the pan. My photographer cut out a circle by folding the parchment paper multiple times, like this.
I do things more quickly and messier and just trace around the pan directly onto the parchment paper with a pen!
Decoration
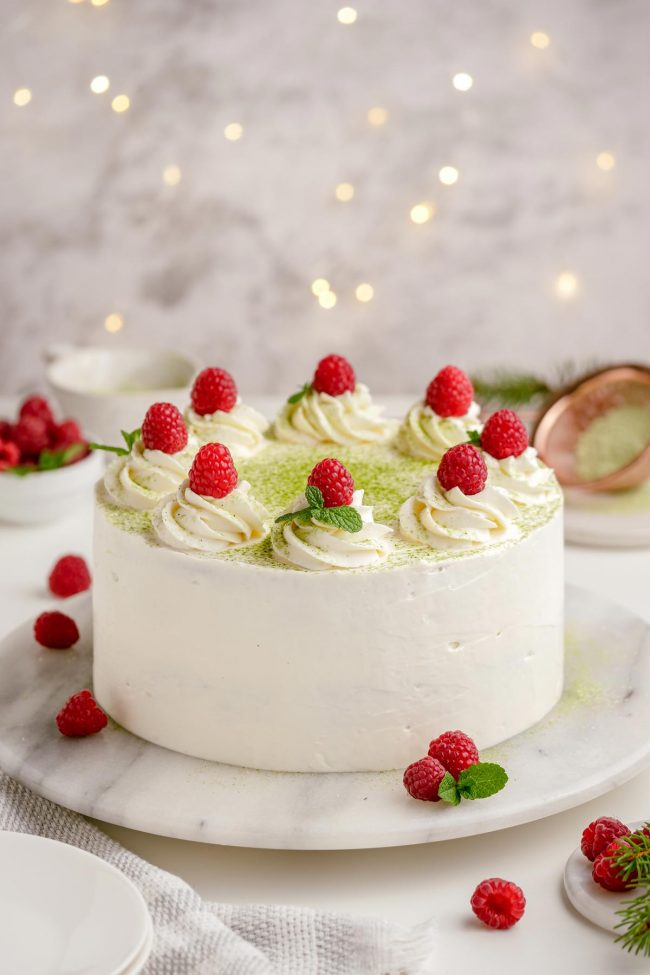
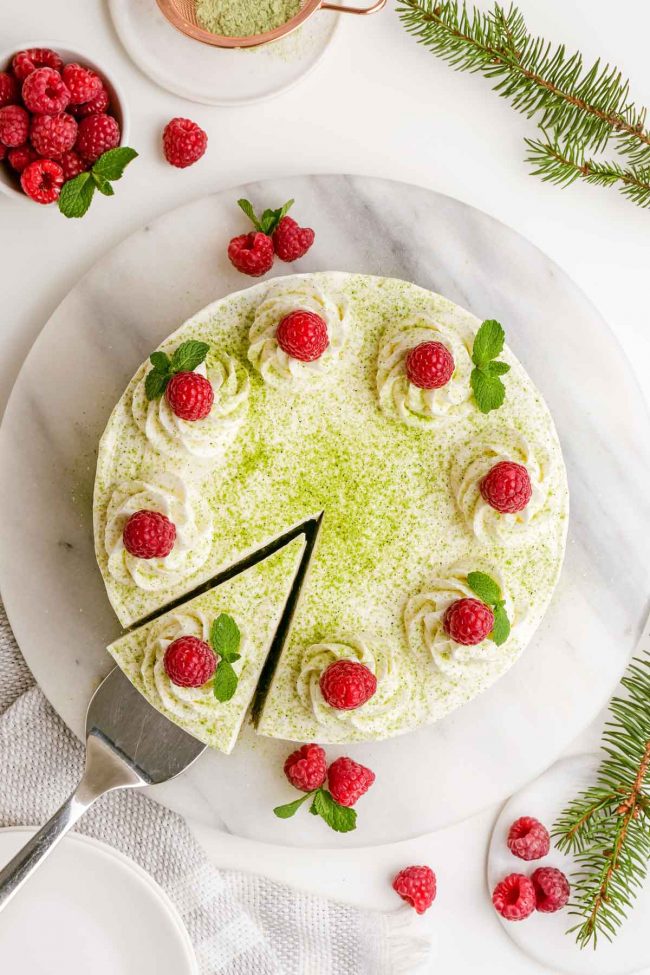
There was enough frosting left over to pipe some decorations on top. I then added some raspberries and mint for each color.
If you want to dust matcha over the top, you’ll want to do that right before serving.
Matcha types
There are two main grades of matcha.
- Ceremonial: this one is at the top of the matcha quality hierarchy. It’s more nuanced and subtle than the other type of matcha, called culinary grade.
- Culinary: this is right under ceremonial comes culinary matcha, and there are 5 subtypes: premium, café, ingredient, kitchen and classic. Premium is considered the best and is slightly more bitter than ceremonial, but not by all that much. This is the type of culinary matcha you most often find.
When I make this Matcha Chai Latte or any other matcha drink that’s not just plain matcha with hot water, I use premium grade matcha. Ceremonial matcha is simply too expensive to use on a regular basis.
For baking, I only use ceremonial grade matcha.
Best matcha for baking
When you look into what type of matcha to use for baking, you’ll find that the opinions vary depending on where you’re looking.
Baking bloggers often recommend ceremonial matcha. But matcha companies seem to always recommend culinary for baking.
Matcha companies also say that ceremonial grade matcha is too delicate and expensive to bake with.
It’s indeed expensive, but you can definitely taste the matcha. And ceremonial matcha is less bitter than culinary, so I’m all for it.
The main problem with culinary matcha in baking is that it’s greenish brown. If you don’t care about the color, then you can use culinary. But I’d stick with premium grade.
If you want the nice green color you see in the photos here, you have to use ceremonial.
What matcha to use
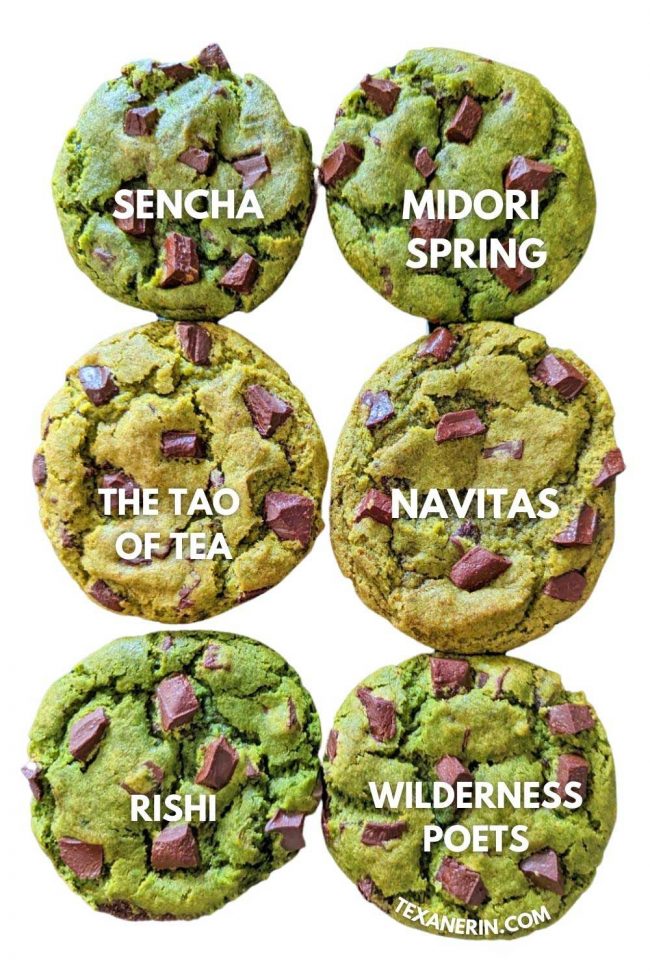
Midori Spring Ceremonial Matcha is the best-priced and highest-reviewed ceremonial matcha that I found on Amazon.
It’s the kind I used in these photos and all my upcoming matcha dessert recipes.
I go into detail about different brands of matcha in my Vegan Matcha Cookies recipe. In that post, you’ll see that Midori Spring is the winner because it’s the cheapest (which is nice because ceremonial matcha is insanely expensive), almost has the best color, and tastes just as good as all the other ceremonial grade matcha.
Here you can see my little experiment!
Gluten-free version
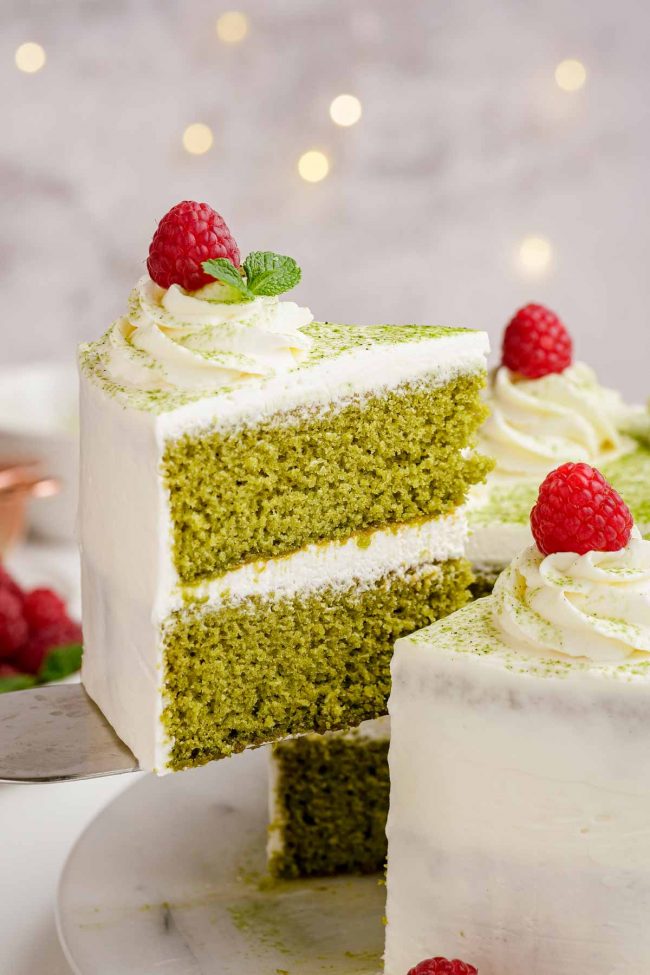
In the photos, King Arthur Flour Gluten-free Measure for Measure Flour was used, but I’ve made it with all-purpose flour, and the cake looks and tastes exactly the same.
Some gluten-free cake is good straight from the oven but then gets denser throughout the day. I can’t tell you how many weird and gummy recipes I tried before this one.
Other than the King Arthur flour I mentioned above, I haven’t tried any other brands in this recipe. So I can’t say if they’d work as well.
I highly recommend using King Arthur for the best results!
Coconut flour, almond flour or anything else that’s not meant as a 1:1 sub for all-purpose flour will not work.
Live outside of the US?
Just skip this part if you live in the US or Canada! It’s not relevant for you.
Cream cheese
If you live outside of the US or Canada, then you most likely have the type of cream cheese in little tubs that are meant to be spread on toast. It doesn’t work the same as the brick-style cream cheese that’s sold in the US, so this is what you have to do:
For 8 ounces (225 grams) of cream cheese, which is what you need for this recipe, buy a 300-gram package of cream cheese. Store brand cream cheese at Aldi, Lidl, etc., works just as well as Philadelphia brand. Put the cream cheese in the center of a clean tea towel or cheesecloth (not just a paper towel), and squeeze out the liquid until you have 225 grams of cream cheese.
I know it’s annoying. But if you insist on skipping this step, I wouldn’t recommend this recipe. Or any US cream cheese frosting (or cheesecake) recipe.
Heavy cream
Many countries don’t have heavy cream – just whipping cream. If you use whipping cream, only use 1 cup instead of the 1 1/2 cups called for.
With heavy cream, you can just pour it into the cream cheese mixture and beat until the frosting is done. But when using whipping cream, you need to beat it separately from the cream cheese and then fold it in.
I’ve tried it, and it works great! It still yields enough for the cake.
Many sites say that double cream is the equivalent of US heavy cream, but double cream is actually much richer.
Whipping cream in the US has a butterfat content of 30%, with heavy cream at 36% to 38% butterfat. Double cream, though, has a butterfat content of at least 48%.
If you only have double cream available, you could add some milk to it to water it down to be around 36% fat, but it’s much easier to just use whipping cream.
That’s it! If you try this matcha cake, I’d love to hear about it! Please leave a comment or snap a pic and tag #texanerin, so I can be sure to see it. Thank you. :)
Matcha Cake Recipe
- Prep Time:
- Cook Time:
- Ready in:
- Yield: 12 slices
Ingredients
- 2 cups MINUS 2 tbsp (225 grams) all-purpose flour or for gluten-free, use King Arthur Flour Measure for Measure Gluten-free Flour
- 2 tablespoons (12 grams) ceremonial matcha
- 2 teaspoons baking powder
- 1 1/4 teaspoons salt
- 4 large (50 grams each, out of shell) eggs, at room temperature
- 1 3/4 cups (350 grams) granulated sugar
- 1 tablespoon vanilla extract
- 1 cup (227 grams) whole milk (I used cashew milk)
- 1/4 cup (56 grams) unsalted butter, cut into pats
- 1/4 cup (60 ml) vegetable or canola oil1
- 8 ounces (225 grams) cream cheese, room temperature
- 3/4 cup (150 grams) granulated sugar
- 1 teaspoon vanilla extract
- 1/8 teaspoon salt
- 1 1/2 cups (355 ml) cold heavy cream
- matcha
- raspberries
- mint leaves
Frosting:
Optional garnish:
Directions
- Place the rack in the center of the oven. Preheat the oven to 325 °F (162 °C) and line two round 8" pans with parchment paper, and grease the sides.
- In a medium mixing bowl, stir together the flour, matcha, baking powder and salt. Set aside.
- In a large mixing bowl with an electric hand mixer or a stand mixer with a whisk attachment, beat the eggs, sugar, and vanilla extract at medium-high speed for about 2 minutes until it's thickened and a light gold color. Should your stand mixer not have a whisk attachment, then beat the mixture for 5 minutes using the paddle attachment.
- Beat in the dry ingredients on low speed just until combined. Use a silicon spatula to scrape the bottom and sides of the bowl and mix briefly to incorporate.
- In a small saucepan, heat the milk over medium heat. You shouldn't let it boil. When you see small bubbles start to appear around the edge of the saucepan, it's ready. The temperature will be 180-185 °F (82-85 °C). Remove the pan from the heat and stir in the butter and oil until the butter has melted.
- Slowly stir the milk mixture into the batter at low speed and mix until totally combined.
- Divide the batter between the two prepared pans, using about 2 3/4 cups (580 grams) of batter in each pan. It may look bubbly.
- Bake the cake for 35-40 minutes or until a toothpick inserted into the center comes out clean and the edges of the cake are pulling away from the pan's sides.
- Remove the cake from the oven and place it on a wire rack to cool completely, which takes about 2 hours.
- In a large mixing bowl using an electric or stand mixer at medium power, beat the cream cheese, sugar, vanilla and salt until totally combined.
- While still mixing, now on low, gradually add the heavy cream.
- Once it’s well incorporated, turn the speed to high and beat until stiff peaks form - about 5 minutes.
- Place one of the cake layers, flat side down, onto the cake serving plate.
- Spread with about 1 cup of frosting or enough so that there's a 1/4" to 1/2" thick layer of frosting.
- Place the next layer, bottom side up, on top of the frosting.
- If you have time, place the cake in the fridge or freezer for 30 minutes and up to 2 hours, uncovered, to help firm it up. That makes the layers sturdier, less likely to slide around as you frost the sides, and fewer crumbs will be shed. If you don't have time, that's fine. You can go ahead and frost right away.
- You can either slather it all on right away, or for the best-looking cake, put on a crumb coat by spreading a very thin layer of frosting all around the sides and top of the cake. You'll be able to see the cake through the frosting. Chill for 20 minutes and then frost your cake evenly and thoroughly. Use leftover frosting to pipe on decorations.
- Right before serving, garnish, if desired, by sprinkling on some matcha with a powdered sugar sifter. Add raspberries and mint leaves.
- Refrigerate frosted leftovers for up to 3 days. Unfrosted layers can sit at room temperature for up to 2 days if wrapped tightly in plastic wrap and put in a ziploc bag.
To make the cake:
Prepare the frosting:
Assembly:
Notes
- Adapted from King Arthur Flour's Classic Birthday Cake Recipe.
Recipe by Texanerin Baking | www.texanerin.com
