

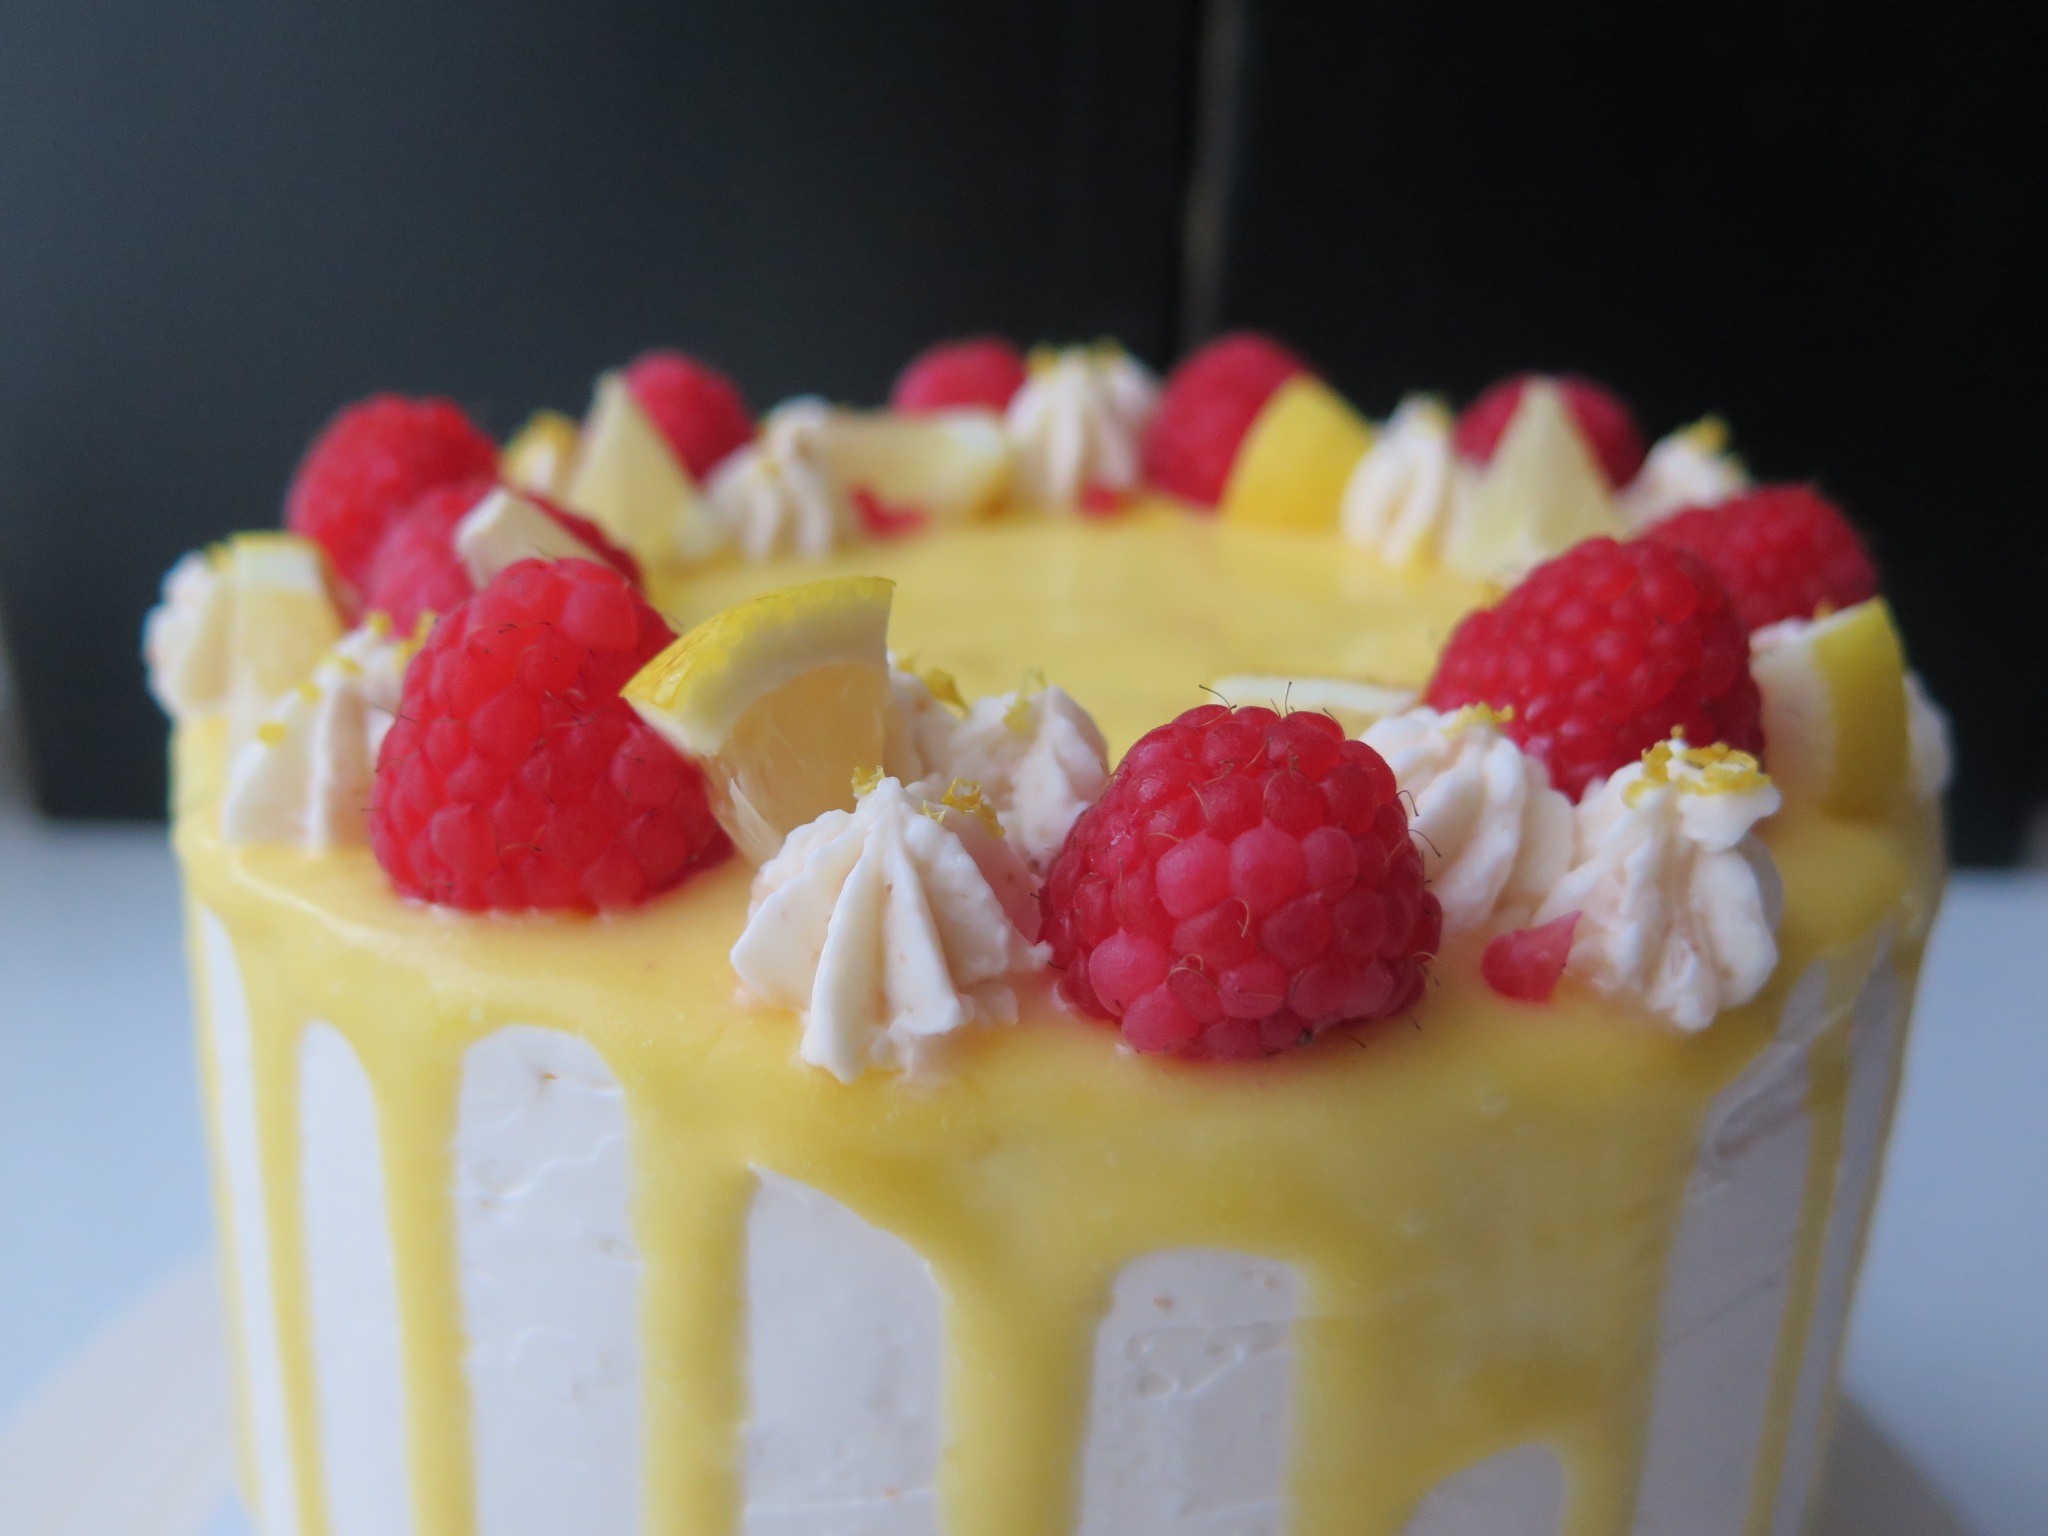
Lemon & Raspberry Cake
Posted by admin on

There’s always something exciting about making a layer cake, from brainstorming flavour combinations to decorating the cake, so I set myself on a little project this weekend. Lemon and raspberry have become 2 of my favourite flavours in desserts because of their vibrant colour and flavour, so I’ve combined these to make a 4-layered 6”cake.

Lemon sponge cake
I used the Lemon Meringue Cake recipe from CupcakeJemma which has quantities written for 6” or 8” cake tins. This is a simple pound cake recipe with equal quantities of butter, sugar and flour, with the addition of lemon zest and juice. Since I only had 2 cake tins, I divided the batter between those 2 tins and baked them at 170C for 45-50mins until a toothpick inserted in the centre came out clean. This really wasn’t ideal as I had batter overflowing from one of the tins, plus the cakes took way longer to bake, so use 4 tins if you have them, or bake them in 2 separate batches.
After the cakes have cooled to room temperature on a wire rack, I trimmed off the caramelisation at the top with a serrated knife before slicing each cake into 2 even layers.
Note: if you don’t have self-raising flour, substitute with cake flour + 4.5tsp of baking powder.
Lemon curd
This lemon curd recipe is also from the Lemon Meringue Cake recipe by CupcakeJemma, but half the recipe should be enough for this cake. Although lemon zest is added to the curd whilst cooking, it is strained through a sieve to produce a smooth curd.
Swiss meringue buttercream
I’ve used the Swiss meringue buttercream recipe by CupcakeJemma a few times, and I’ve since preferred this smoother and less sweet buttercream instead of the American version. I made a smaller batch of this buttercream.
Assembling the layered cake:
Place a cardboard cake board on a turntable. Place the first cake layer on the cake board, then spread over a dollop of buttercream using an offset spatula. Create a ‘crater’ by removing the buttercream with the offset spatula, then fill with raspberry jam thinned out with lemon juice. Place the second cake layer on top and gently press down to make sure it’s level. Repeat the process of buttercream, filling with lemon curd this time, then raspberry jam in the top layer. Cover the entire cake with a thin layer of buttercream for a crumb coat, then leave in the fridge for 15 minutes till firm. Cover with a second layer of buttercream, then smoothen the sides and top with a cake scraper. Set in the fridge to chill for 30 minutes.

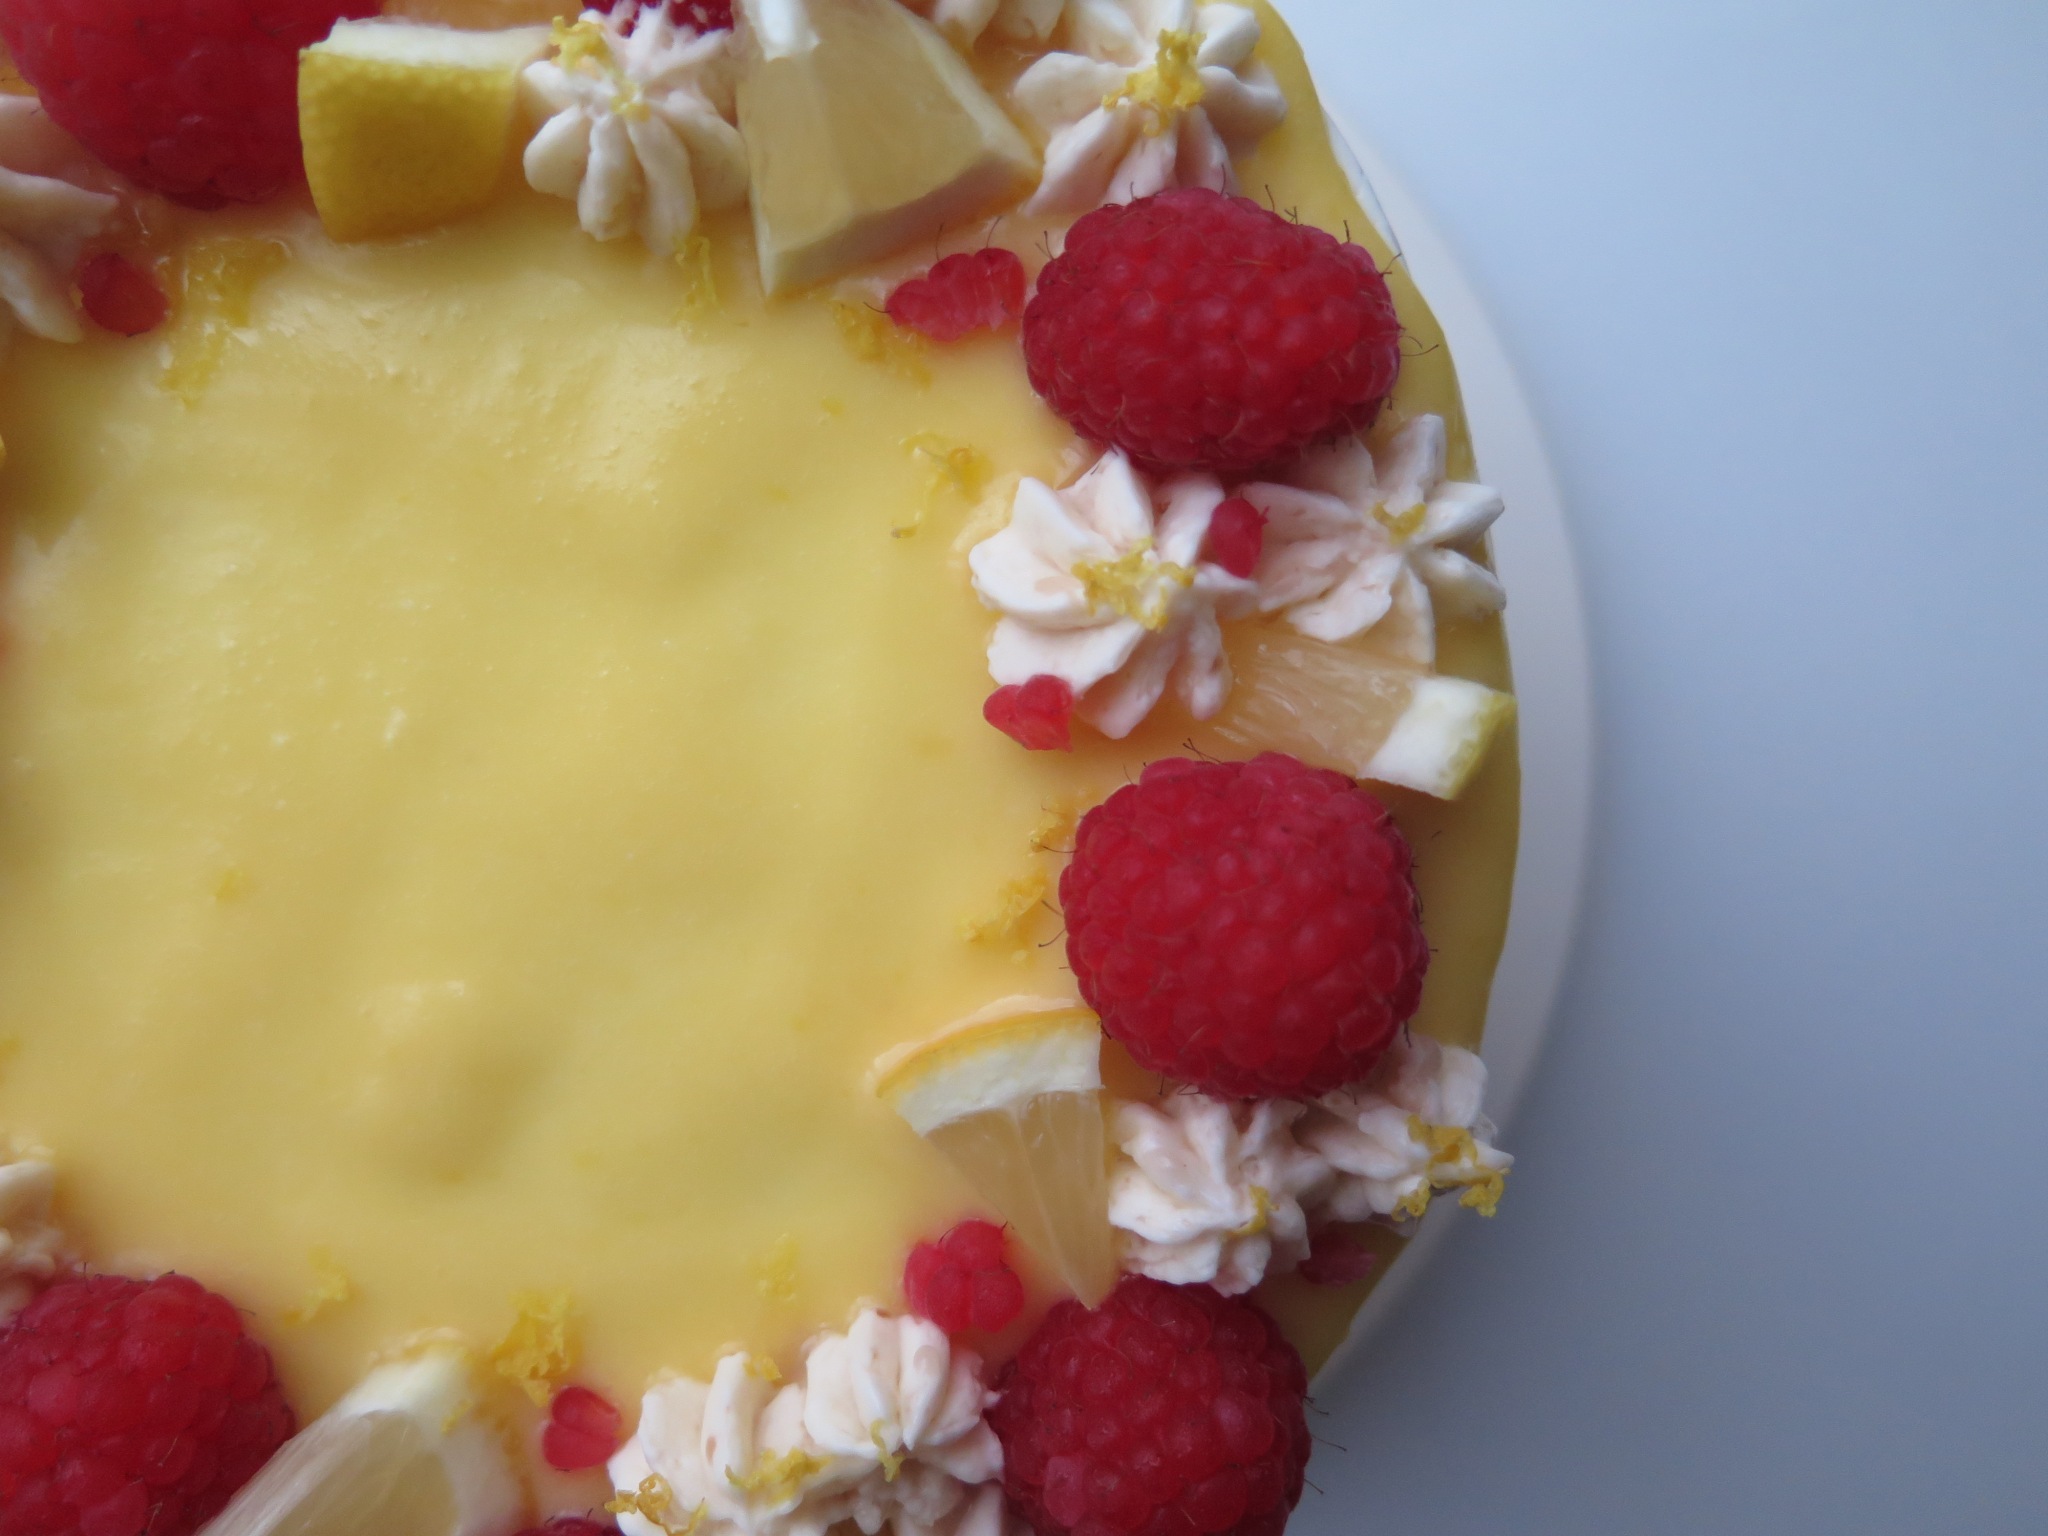
Once the buttercream has set, drip the lemon curd in a ring around the sides of the cake, then fill in the middle with a thin layer. Decorate with the remaining buttercream, fresh raspberries, lemon wedges and lemon zest.


Lemon & Raspberry Cake
- Difficulty: medium
A 4-layered lemon sponge cake sandwiched between Swiss meringue buttercream and raspberry jam with a lemon curd drip
Ingredients
- For the cake:
- 375g butter, softened
- 360g caster sugar
- 375g self-raising flour
- 6 eggs
- 6 tbsp lemon juice
- zest of 4-6 lemons For the lemon curd:
- zest of 1 lemon
- 65-70ml lemon juice
- 65g caster sugar
- 3 egg yolks + 1 egg
- 50g cold butter, cubed For the buttercream:
- 3 egg whites
- 220g caster sugar
- 300g butter, softened
- 1 tsp vanilla extract For the raspberry filling:
- 136g seedless raspberry jam
- 3 tbsp lemon juice Decorations:
- raspberries
- lemon wedges & zest
Directions
- To make the cake, beat the butter, sugar and lemon zest on medium speed for 5 minutes until pale and fluffy using the beater attachment. With the stand mixer on a lower speed, add the eggs one at a time, mixing between each addition until incorporated. Scrape down the sides of the bowl, then alternate between adding the flour and lemon juice across 3 additions. Use a spatula to finish off mixing the batter until no more streaks of flour is visible. Divide among 4 cake tins that have been greased and lined with parchment paper, then bake at 170C for 25mins.
- Remove the cakes when a toothpick inserted in the centre comes out clean, then leave on a wire rack to cool completely. 3. 4. 5. 6. 7. 8.
Hope you’ve enjoyed this recipe. Tell me what you thought of it and tag me @thefoodniffler if you make this!