

DIY Back-to-School 3-ring pencil pouches - free sewing tutorial
Posted by admin on
Last week we started our school supply shopping, and I don't know about where you live, but here the children in each grade are assigned a huge list of things to buy and bring on the first day of school.
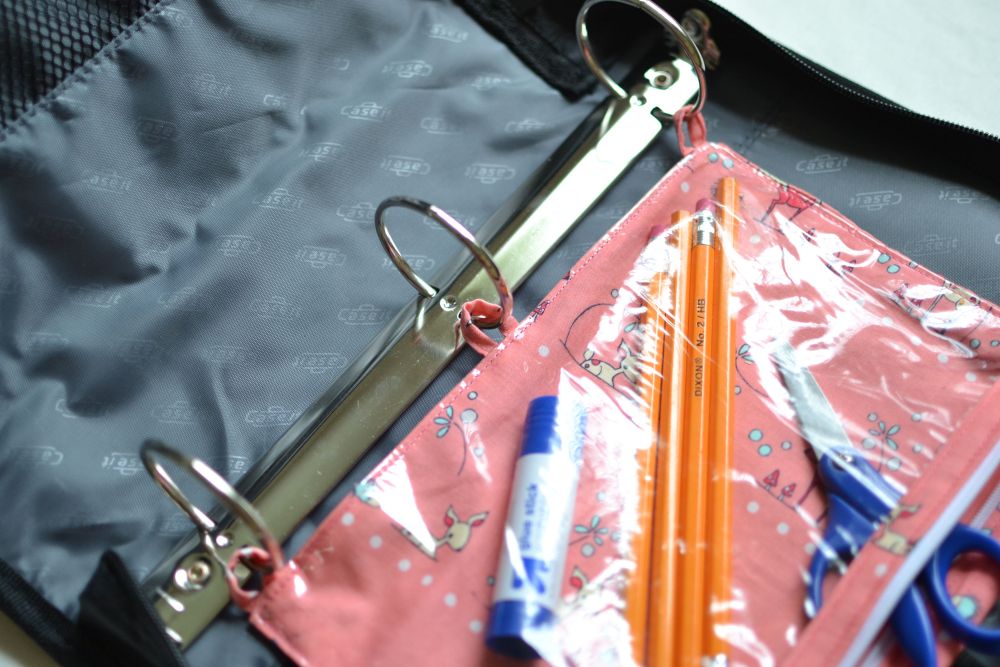
So I was at the store, four lists in hand, and filling my cart up with glue sticks, markers, and binders, when I got to the zipper pouches. Not regular zipper pouches, mind you, but the kind that hook into the three ring binders. Feeling tired of all the store-bought stuff, I took a close look at one of those zipper pouches and thought, how easy. I can do that! And of course it will be better. :)
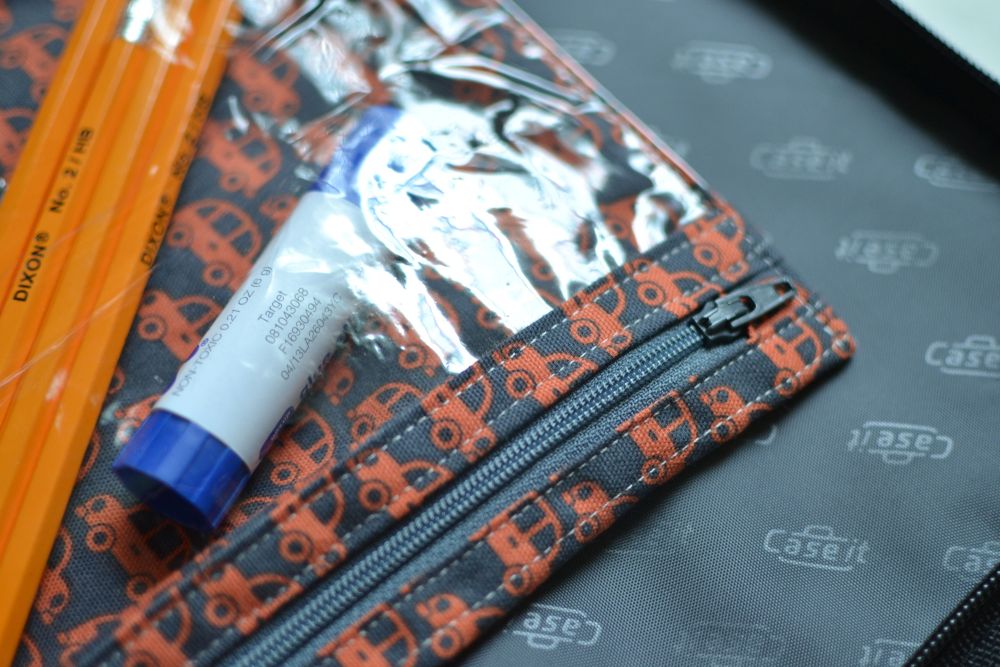
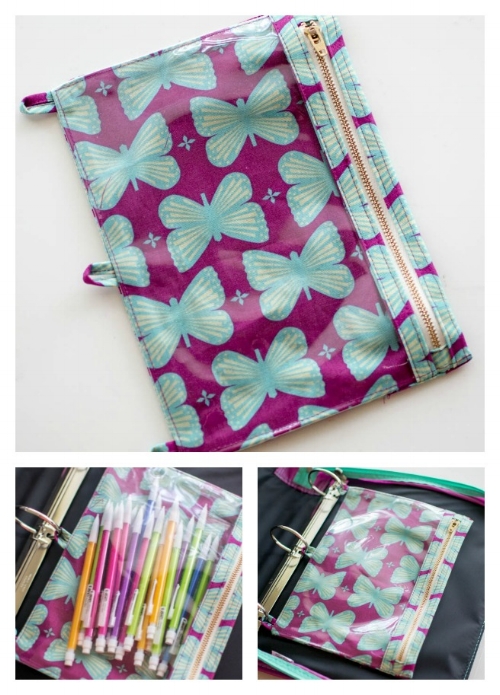
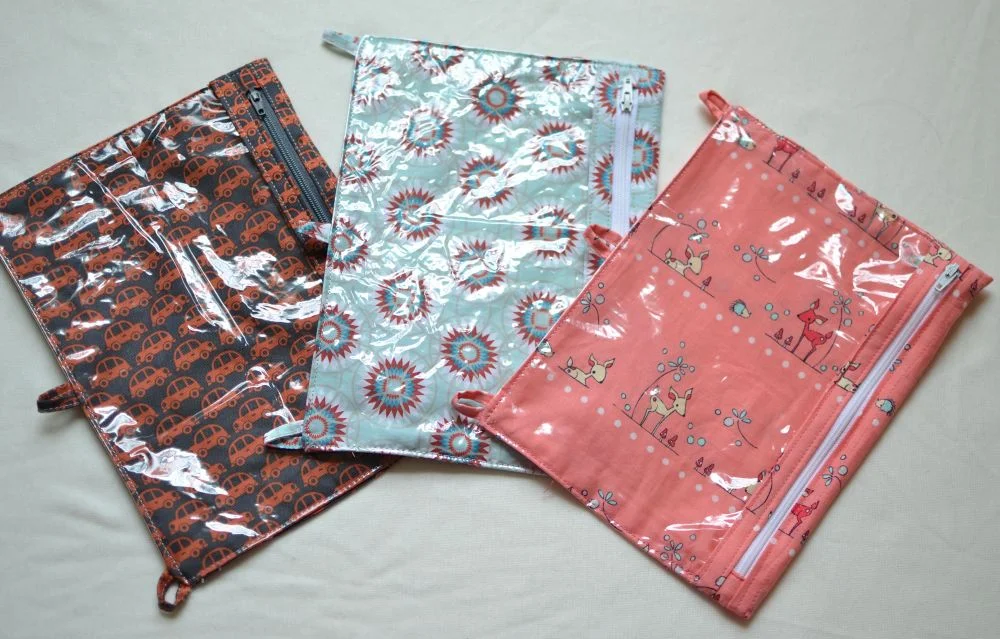
My zipper pouch has a clear vinyl front (you can buy the vinyl at Joanns or cut some from a plastic case like the kind a store-bought bedspread comes in), mostly enclosed seams, an easy, easy zipper, and looks great from both sides.
So here's the tutorial:
You will need:
a fat quarter (or equivalent) of fabric
10'' or longer zipper (I buy mine at www.wawak.com)
a 10 1/2" x 6 1/2" rectangle of clear vinyl
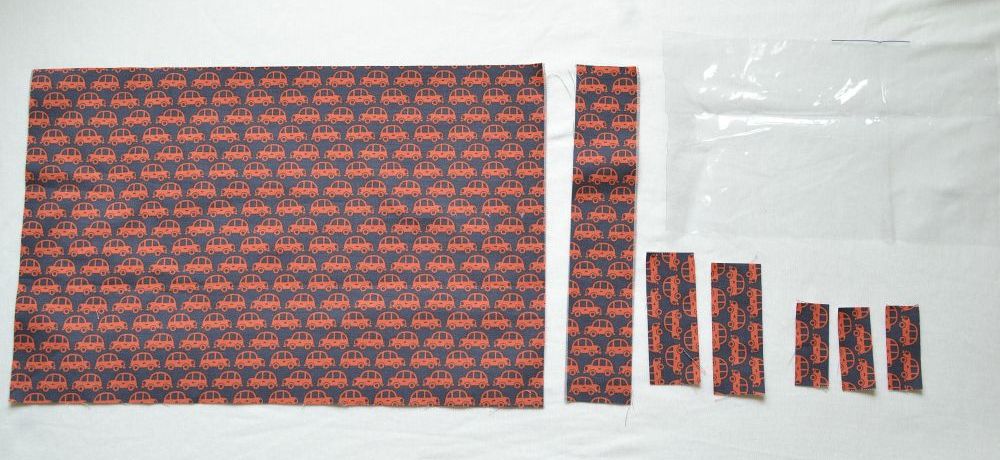
Cut the following pieces from your main fabric (start with the largest first):
1 back piece 16'' x 10 1/2''
1 strip 2'' x 10 1/2''
2 zipper tabs 4'' x 1 1/4''
3 loop strips 1'' x 2 1/2''
(the vinyl dimensions are above)
Step 1. Ironing.
Bring all of your fabric pieces to your ironing board and press each one starting from the largest and working to the smallest. Here's how:
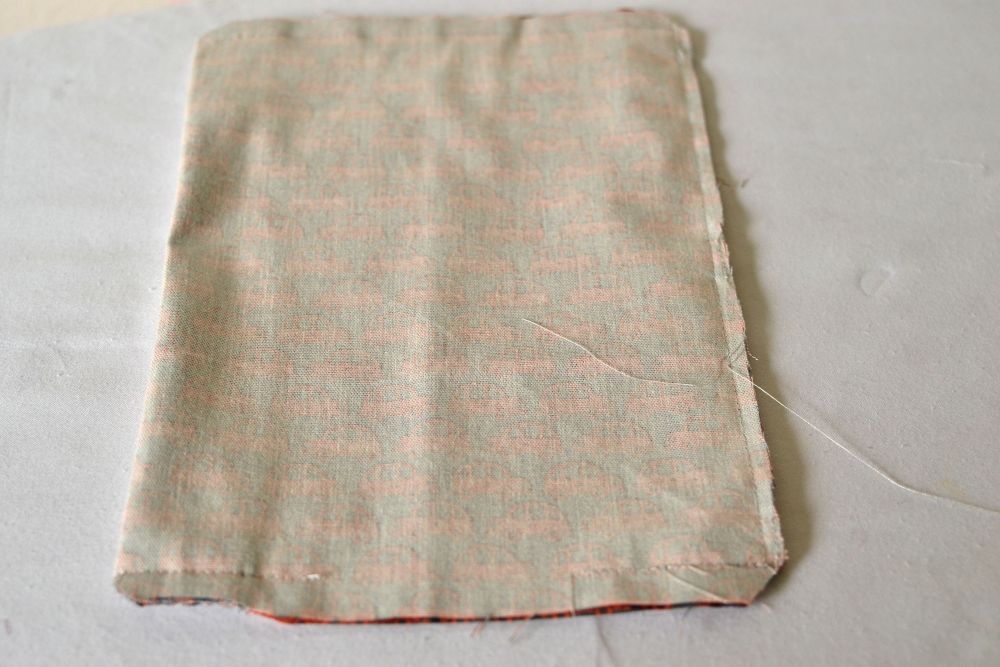
Take your largest piece and fold it in half with the shorter edges together. Press.

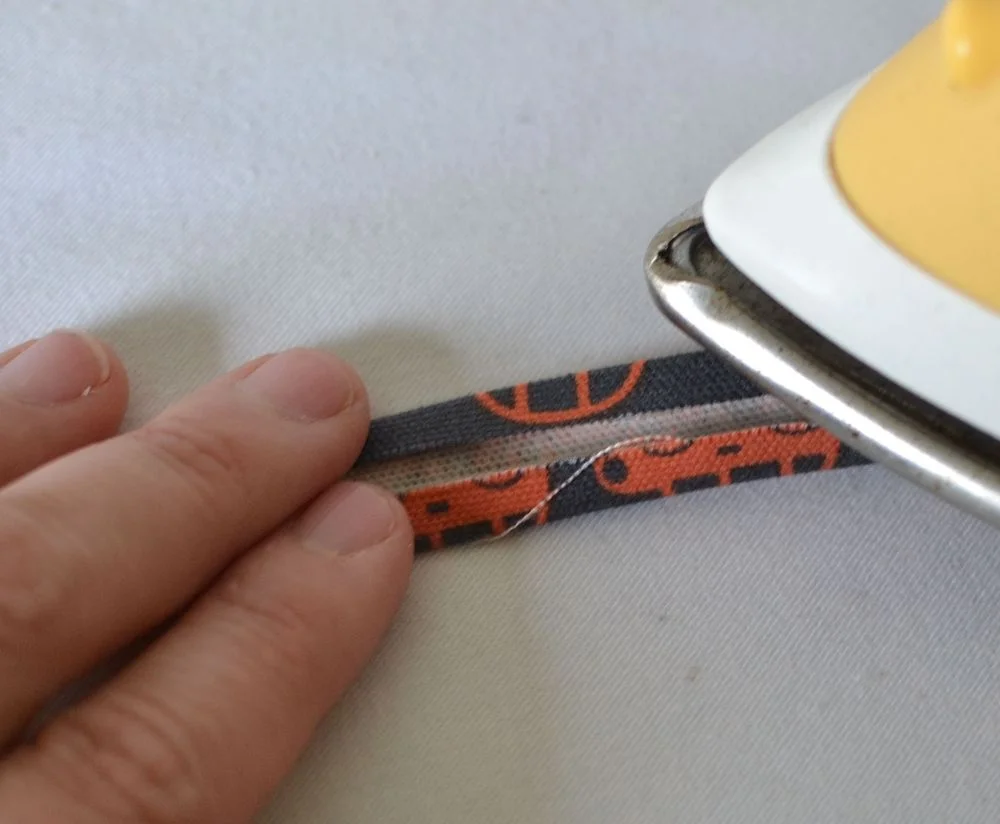
Next you'll press your 2'' x 10 1/2'' strip just like a piece of bias tape. Fold in half lengthwise, press. Open and fold raw edges to center, press. Then fold down center and press again.
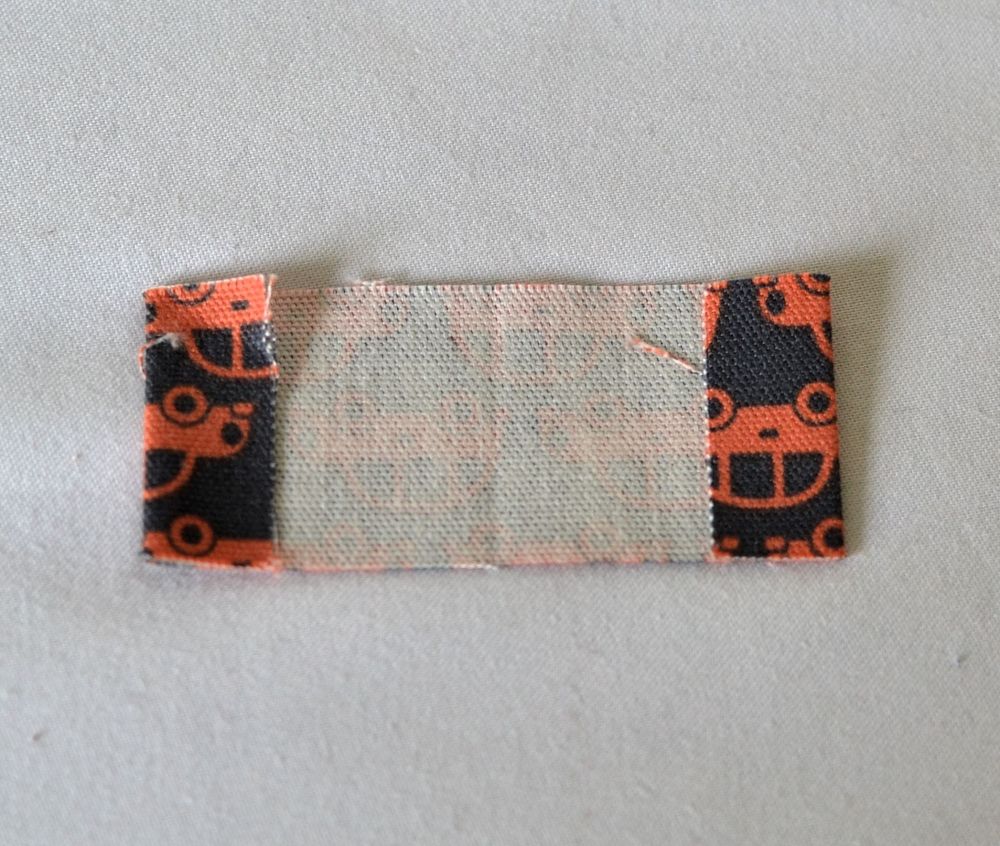
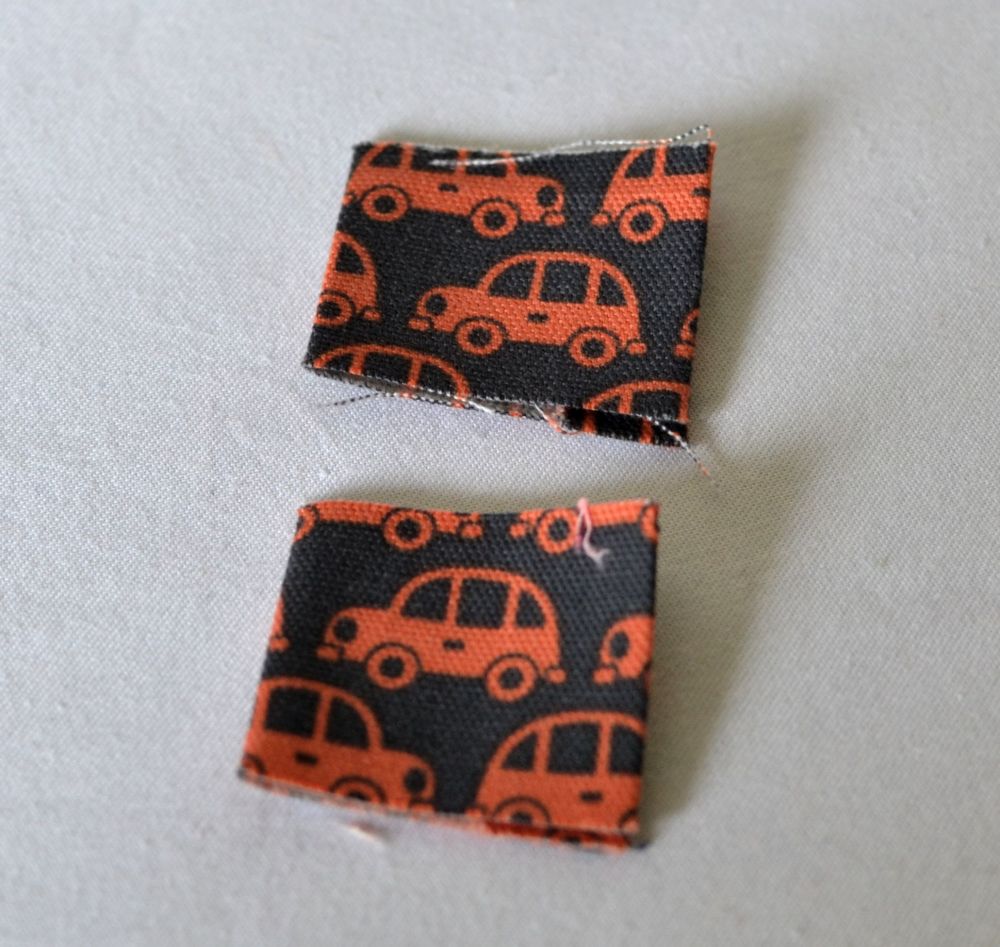
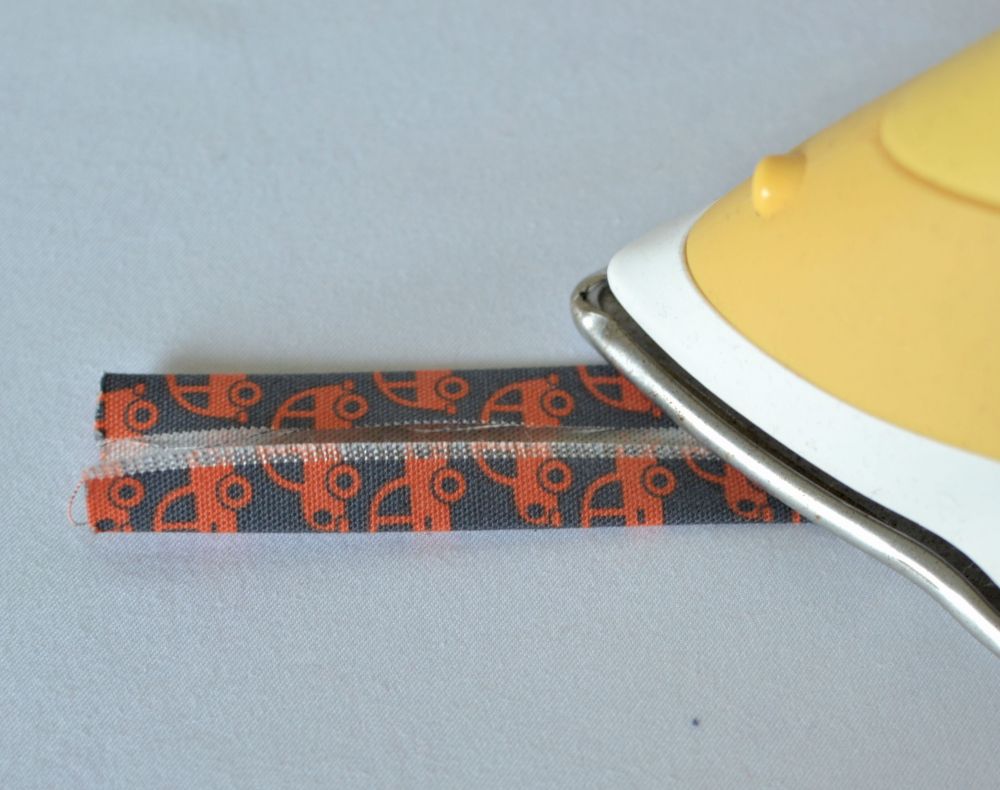
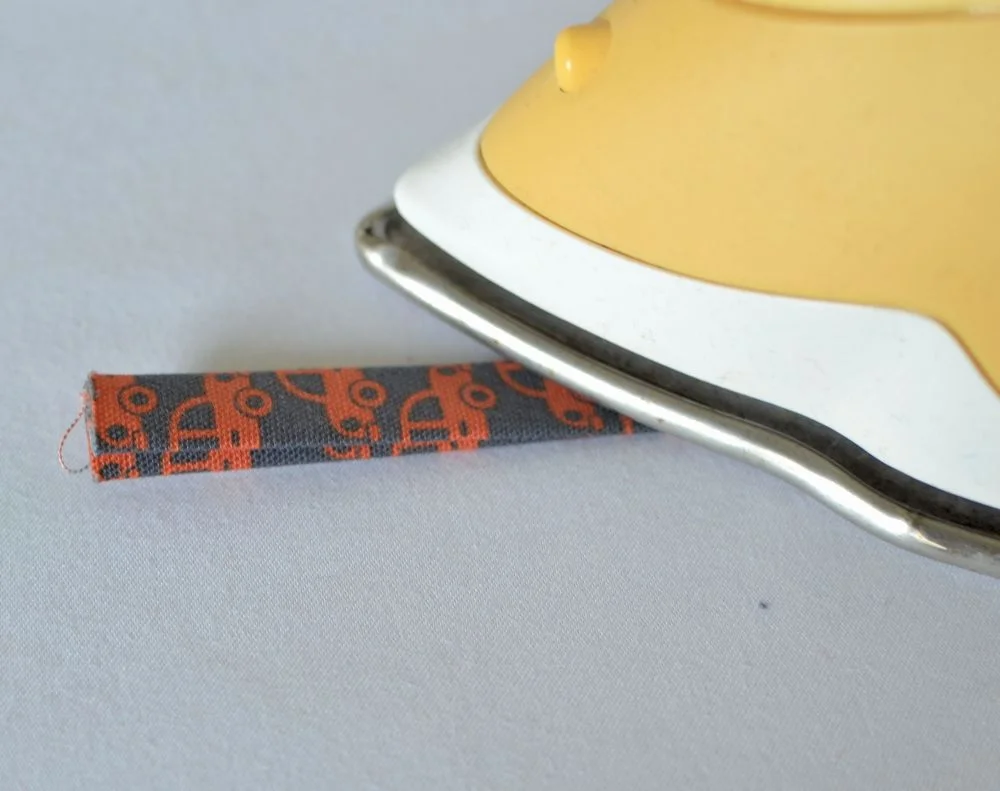
Now your zipper tabs. Press the short ends to the wrong side about 1/2''. Then fold in half and press.

Press your 1'' x 2 1/2'' loop strips just like tiny bias tape too.
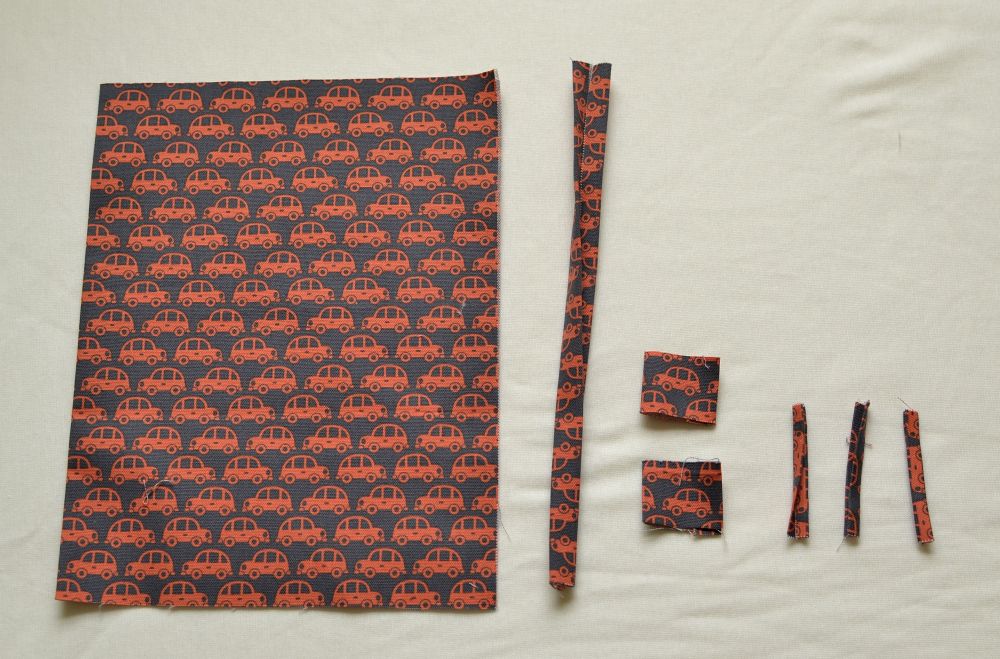
This is what all your folded pieces will look like.
Step 2. Sewing the pieces together.
Now move all the pieces to the sewing machine along with your piece of cut vinyl.
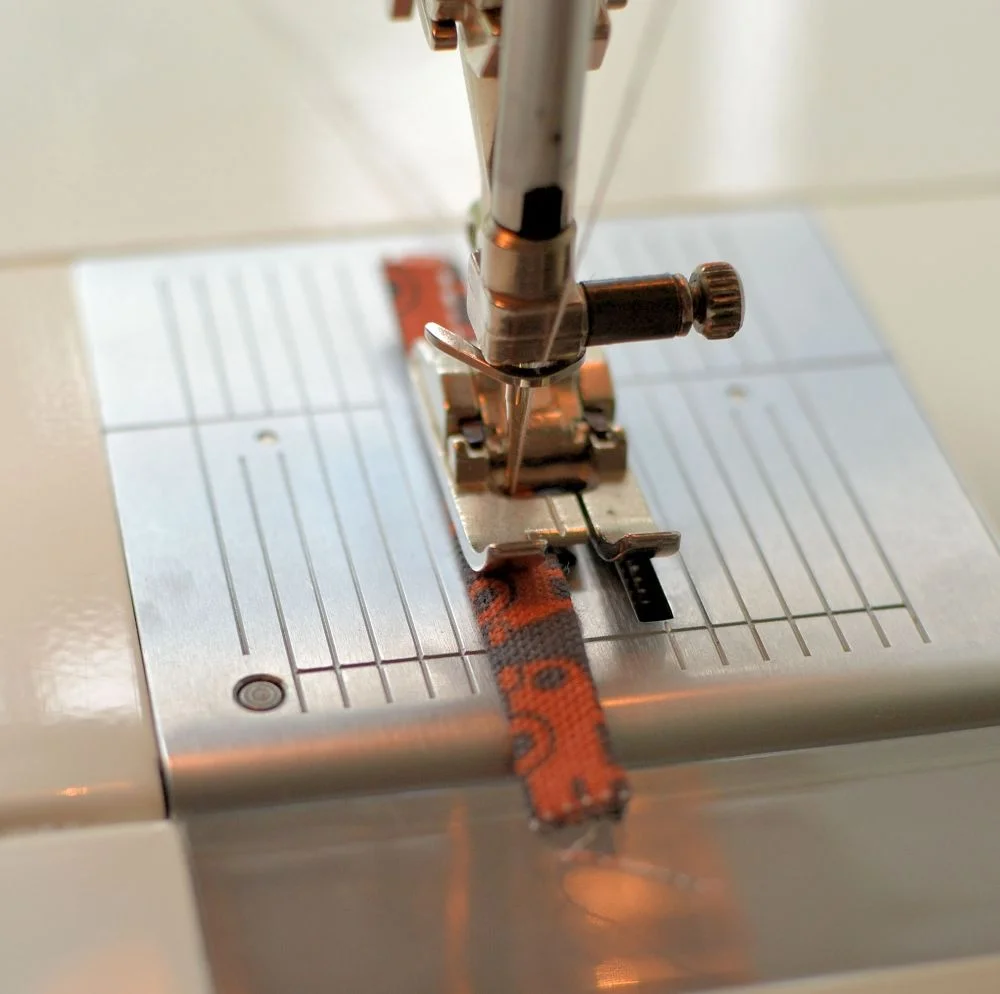

You will sew the pieces from the smallest to the largest. Sew the tiny loop strips along the folded edges. Note: I found it easiest to place the strip over one feed dog and move my needle over to reach it. Set these pieces aside when finished.

Wrap one zipper tab around the top (open) end of the zipper. Stitch across the folds.

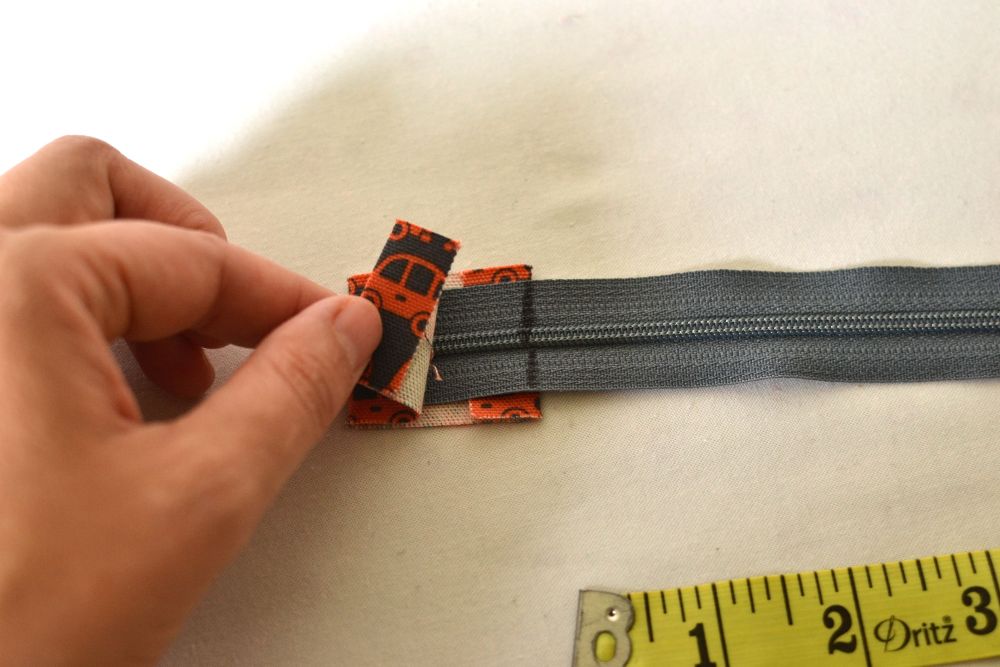
Measure 8 1/2'' from the sewn zipper tab and draw a line. Cut off extra zipper tape about 1'' past line (make sure zipper is zipped up). Wrap remaining zipper tab around the end, placing the folded edges just over the line. Stitch second zipper tab in place.
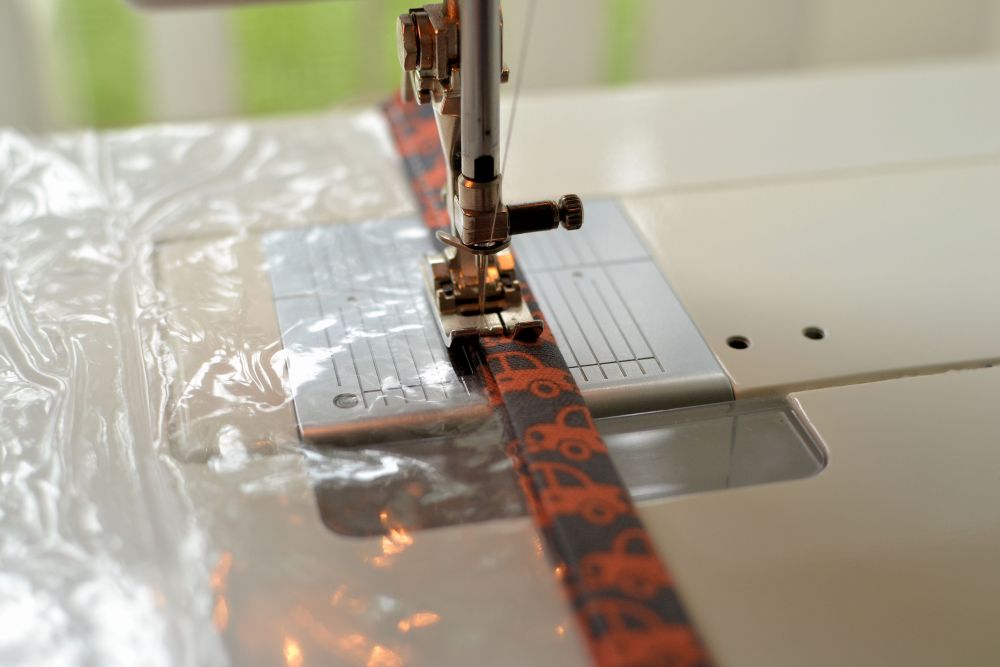
Wrap the 10 1/2'' long folded strip around one long edge of the vinyl piece. Stitch in place close to the folded edges. This is now your 'bound vinyl piece.'
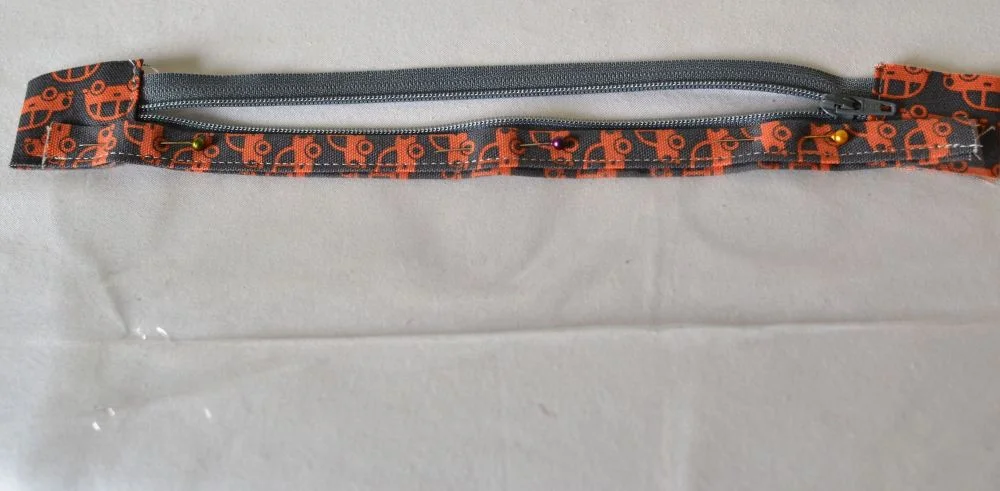
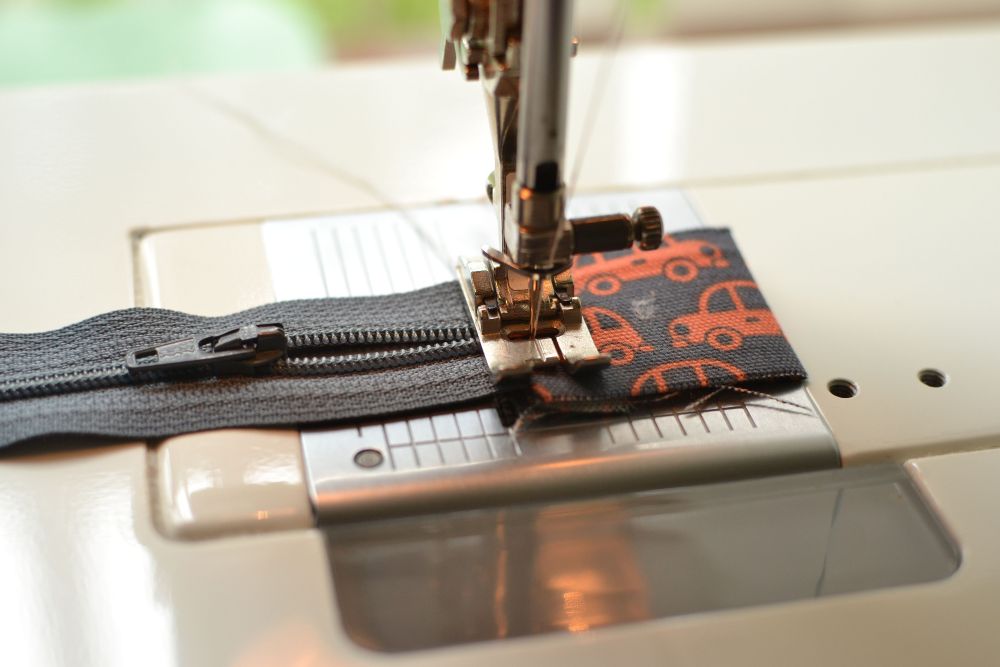
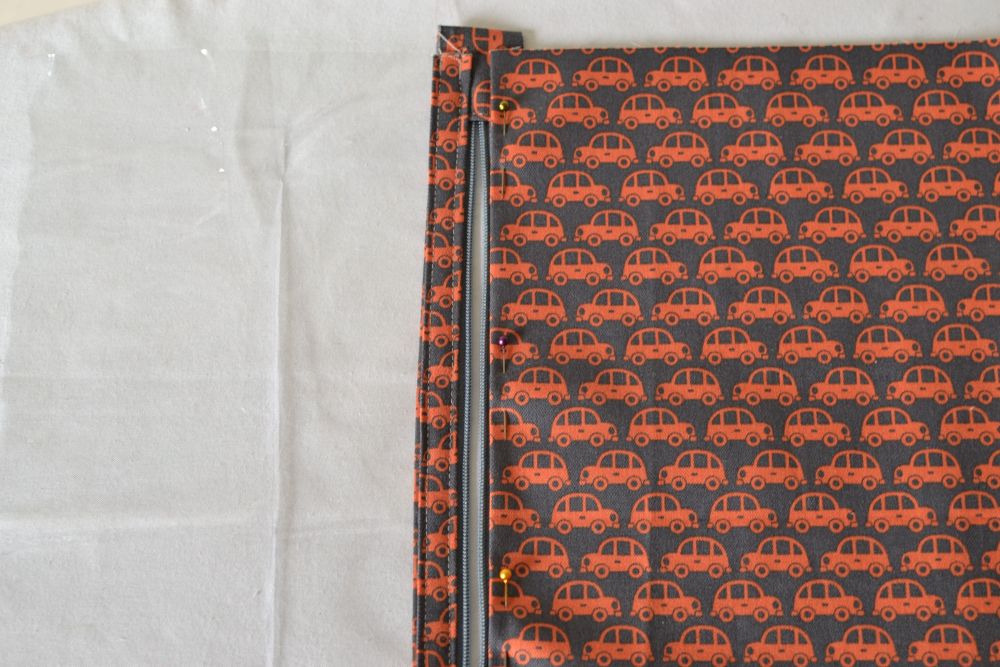
Pin the bound vinyl piece right on top of one of the zipper tapes. The strip will go right across the top, centered, over the tabs, and close to, but not touching the zipper teeth. Stitch about 1/4'' from the first row of stitching. Use a zipper foot if you need to.
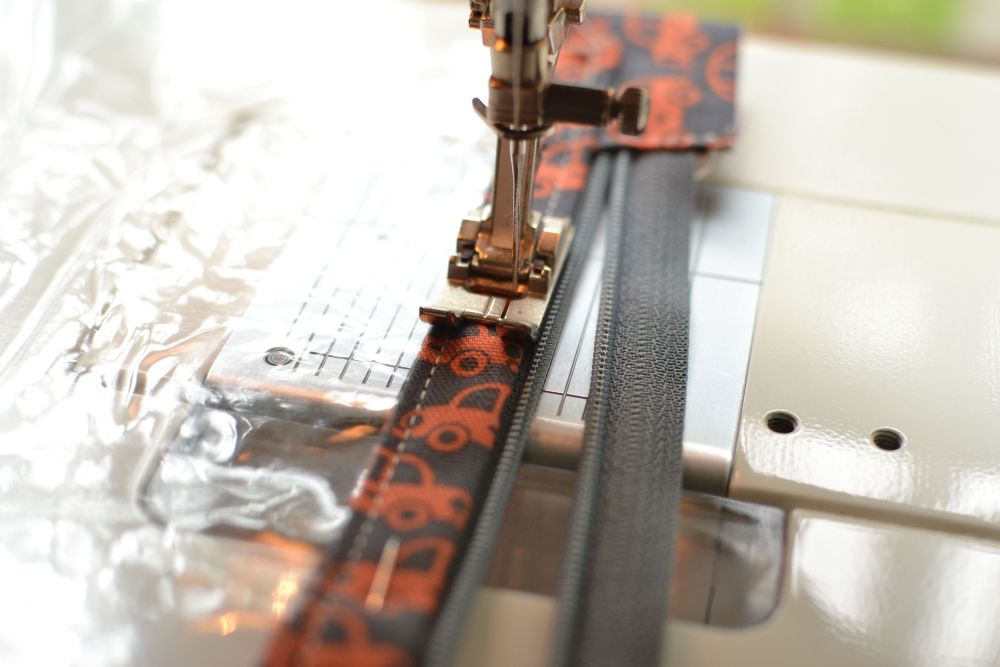
Now pin the folded edge of your largest piece to the opposite zipper tape. Center it opposite the bound vinyl piece.
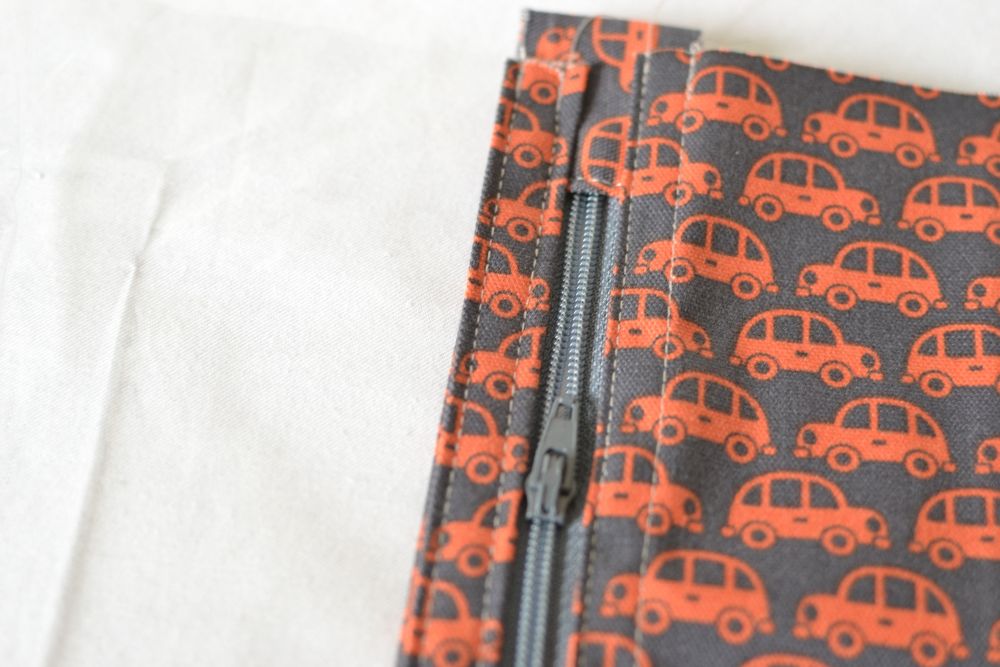
Stitch close to the folded edge, and then topstitch 1/4'' away from that.
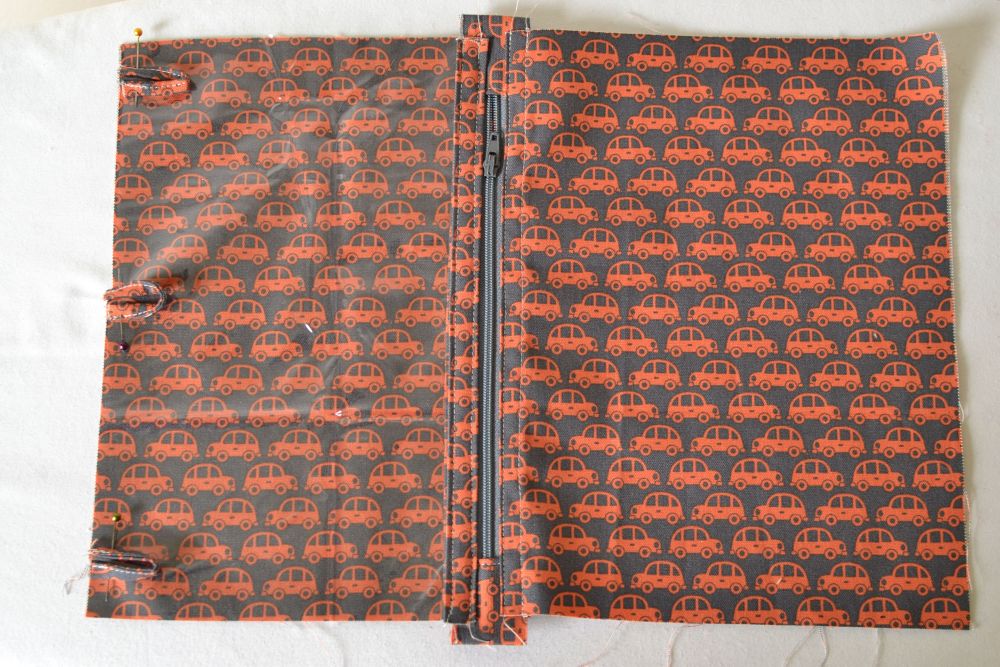
Open the back half of the large folded piece under the vinyl. Fold the loop strips in half and pin in place over the vinyl along the raw edge. The top and bottom pieces should be 1/2'' from the edge, with the third piece in the middle. Raw edges are aligned. Baste loops in place.
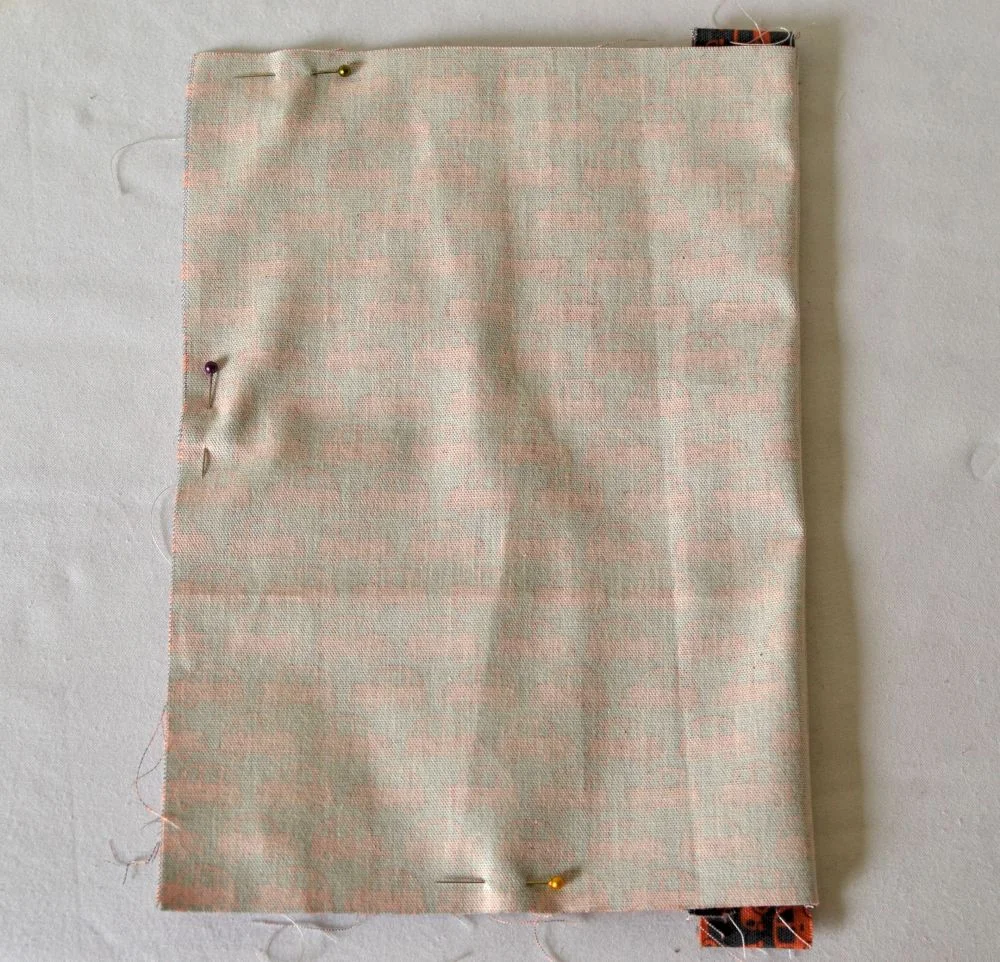
Fold the fabric right sides together with the vinyl and loops sandwiched in between. Use only a few pins, and be sure to place them inside the 1/2'' seam allowance.
Stitch around three sides (not the side with a zipper) with a 1/2'' seam allowance and leaving a 3'' opening along one short edge for turning. Clip corners and trim away bulky seams.
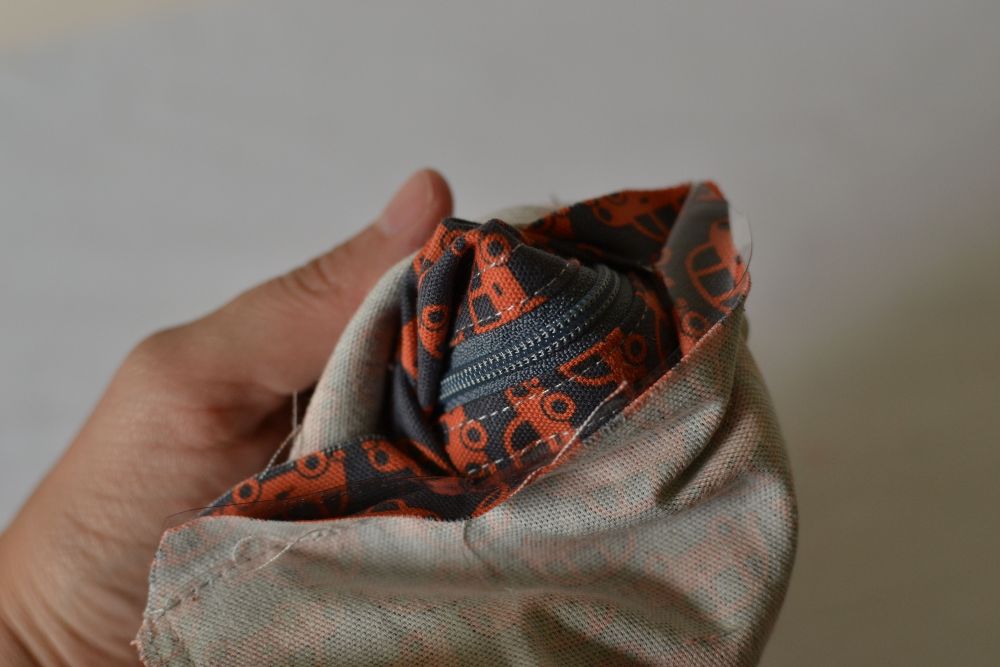
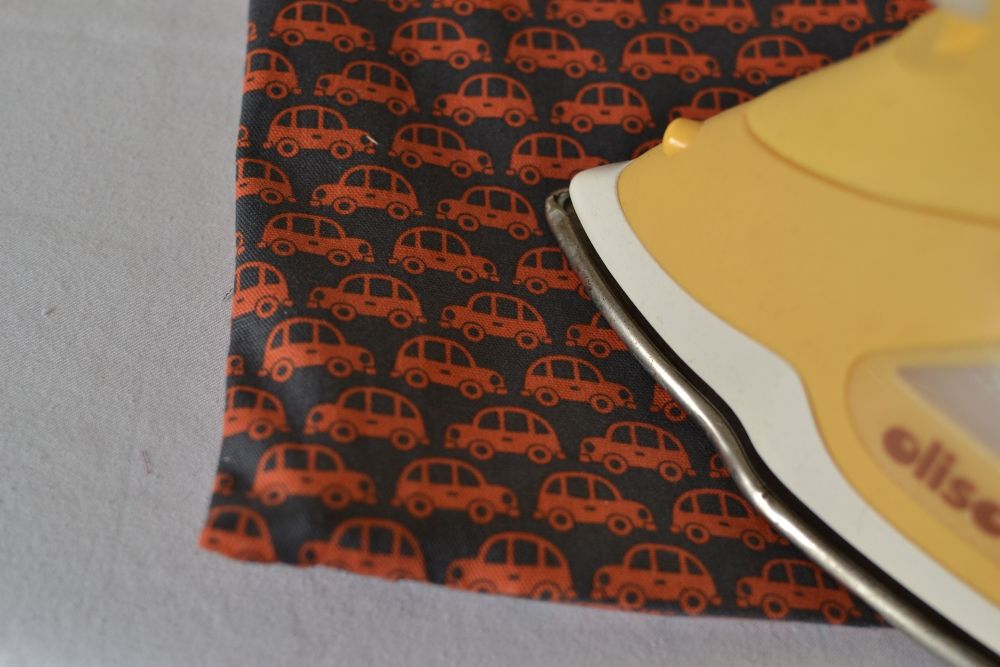
Turn zipper case right side out. It might seem confusing with the vinyl sandwiched in between the fabric... you'll just have to peek on either side of the vinyl and turn on the side where the zipper is right side out. Press CAREFULLY and only on the BACK. Do not touch the vinyl with your iron.
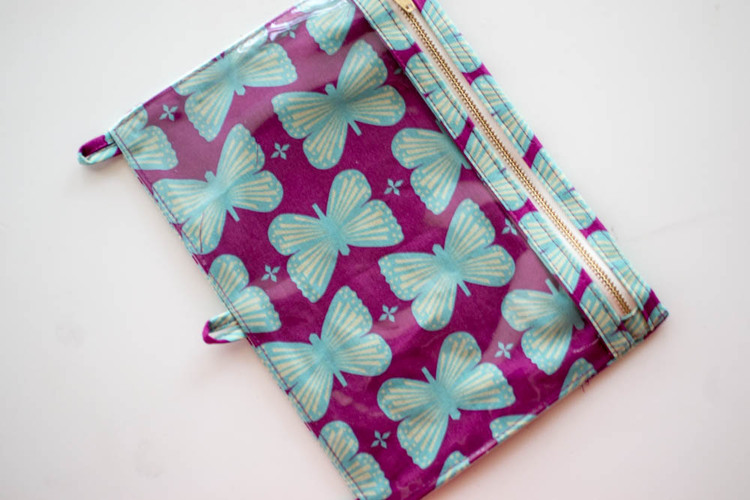
Topstitch around three sides (not the zipper side), closing the opening. Done!
Tip: It may be easier to sew this part with the vinyl side down so your sewing machine's foot doesn't stick to the vinyl. That's how I do it anyway. :)
Now make a whole bunch for all the school kids you know.
You might also like my free Christ-centered back to school printable .
Happy Sewing!
